
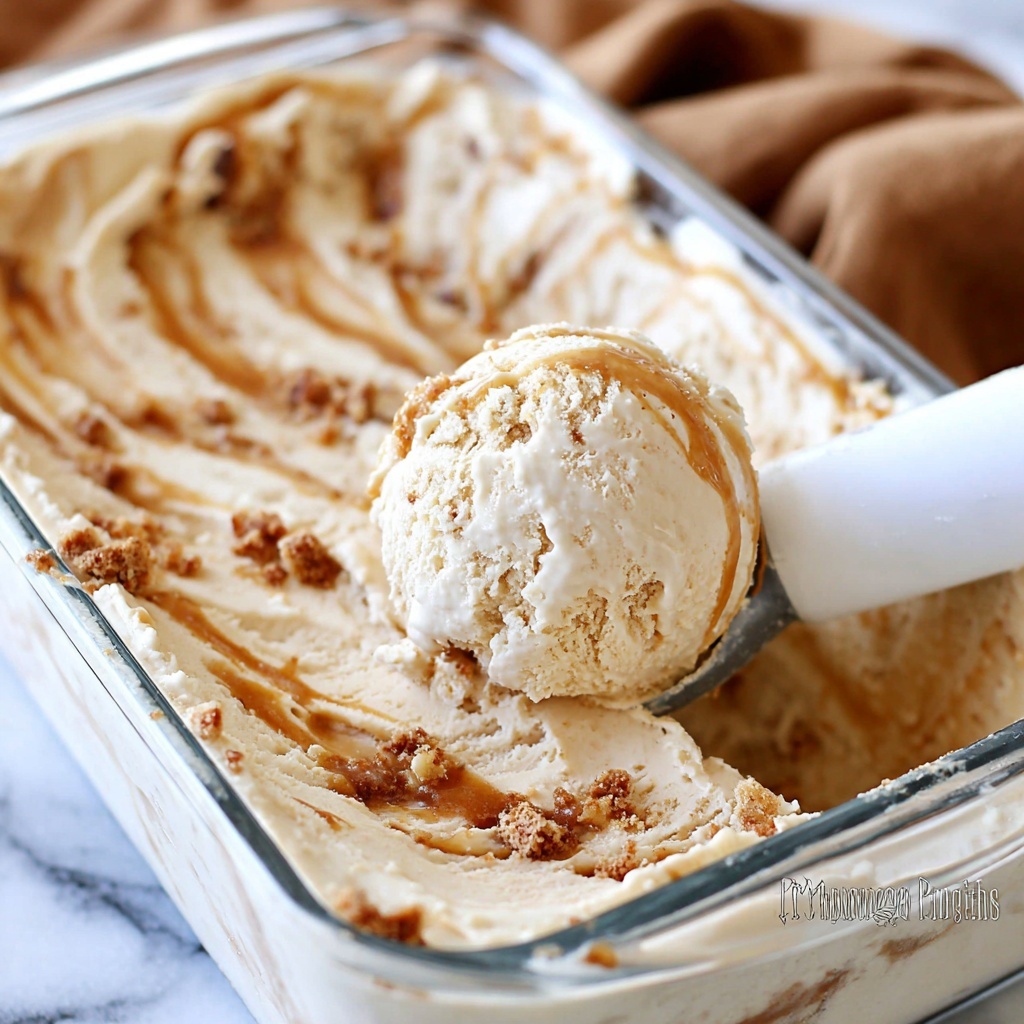
If you adore the rich, caramelized flavor of Biscoff cookies and the cool creaminess of homemade ice cream, you are going to fall head over heels for this Easy Biscoff Ice Cream Recipe. It’s the perfect guilt-free indulgence that blends the luscious smoothness of cookie butter with crisp, crunchy cookie bits, all whipped into velvety ice cream without any complicated machinery or fuss. Whether you’re a seasoned dessert maker or just craving something sweet and impressive, this recipe brings the magic of Biscoff into your freezer with minimal effort and maximum delight.
Ingredients You’ll Need
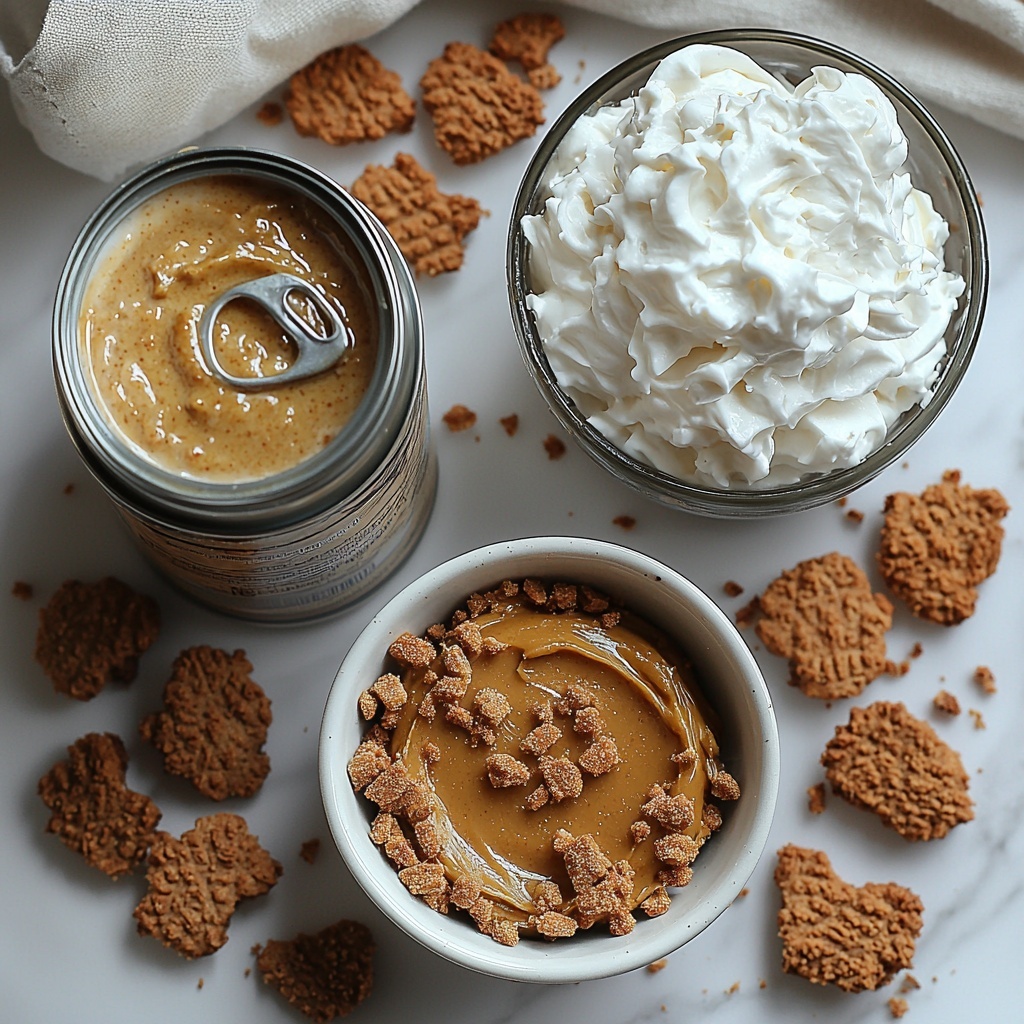
Only a handful of ingredients come together to create this dreamy treat, each playing a crucial role in crafting the perfect harmony of flavors and textures. From the sweetness and density of the condensed milk to the rich creaminess of the whipped cream, every item is essential for that silky, scoopable consistency.
- Sweetened condensed milk: Provides natural sweetness and a creamy base that eliminates the need for an ice cream maker.
- Biscoff cookie butter: Infuses intense caramelized spice flavor and creamy texture.
- Heavy whipping cream: Whipped to add lightness and volume, ensuring a smooth, airy ice cream.
- Vanilla extract: Enhances and rounds out the rich flavors for depth and warmth.
- Chopped Biscoff cookies: Adds delightful crunchy contrast and bursts of cookie flavor throughout the ice cream.
How to Make Easy Biscoff Ice Cream Recipe
Step 1: Mix the Base
Start by whisking together the sweetened condensed milk with half of your Biscoff cookie butter until completely smooth and combined. This mixture forms the luscious base of your ice cream, packed full of that signature Biscoff sweetness that will carry the whole dessert.
Step 2: Melt the Biscoff Cookie Butter
Meanwhile, gently warm the remaining cookie butter in the microwave just enough to soften it without losing its rich texture. This melted butter will create those beautiful, swirled pockets of flavor that elevate the ice cream from simple to show-stopping.
Step 3: Whip the Cream and Fold
In a clean bowl, beat your heavy whipping cream with the vanilla extract until stiff peaks form—this is the secret to making your ice cream light and airy without an ice cream machine. Slowly fold this fluffy cream into your condensed milk mixture, being careful not to deflate it. Then gently fold in one cup of the chopped Biscoff cookies to add that irresistible crunch.
Step 4: Layer and Swirl
Take a loaf pan and begin by spooning in one third of your ice cream mixture. Smooth it out evenly, then drizzle some of the melted cookie butter drops on top. Repeat the layering with the remaining ice cream and melted butter, building beautiful layers that will streak with gooey caramel delight once swirled.
Step 5: Final Touch and Freeze
Using a knife, softly swirl the melted cookie butter through the ice cream layers, creating marbled ribbons that will melt in your mouth. Sprinkle the remaining chopped cookies across the top for a crunchy, inviting finish. Cover the pan tightly, pop it in the freezer, and let it chill for at least eight hours.
How to Serve Easy Biscoff Ice Cream Recipe
Garnishes
Fresh garnishes make this dessert even more enticing; try adding a sprinkle of crushed Biscoff cookies or a drizzle of warmed cookie butter. A dusting of cinnamon or a few toasted nuts would also complement the rich caramel flavors beautifully.
Side Dishes
This ice cream shines on its own but also pairs wonderfully with warm apple pie, freshly baked brownies, or even alongside a slice of pumpkin bread to create a dessert spread bursting with cozy flavors.
Creative Ways to Present
Serve scoops in clear glass cups layered with extra cookie butter sauce or chopped cookies for a stunning visual treat. Or get playful by sandwiching your Biscoff ice cream between thin cookies for an irresistible homemade ice cream sandwich.
Make Ahead and Storage
Storing Leftovers
Store any leftover Easy Biscoff Ice Cream Recipe in an airtight container to prevent ice crystals and freezer burn. Make sure to press plastic wrap directly on the surface before sealing for the best texture.
Freezing
This ice cream keeps beautifully frozen for up to two weeks without losing flavor or creaminess, making it an ideal make-ahead dessert for gatherings or stress-free sweet indulgence.
Reheating
No need to reheat ice cream, but let it sit at room temperature for 5 to 10 minutes before serving to soften slightly, making scooping easier and enhancing flavors.
FAQs
Can I use crunchy Biscoff cookie butter for this recipe?
Using crunchy Biscoff cookie butter could add an extra textural twist, but since the recipe already includes chopped cookies, the smooth variety works best to keep the ice cream creamy and well balanced.
Is there a way to make this recipe vegan?
For a vegan twist, consider swapping the sweetened condensed milk for a homemade coconut condensed milk and using coconut cream instead of heavy whipping cream. Look for vegan cookie butter alternatives to complete the transformation.
How long does this ice cream take to set properly?
The magic requires at least eight hours of freezing time, so plan ahead for the perfect, scoopable texture that tastes like it came right from an artisan ice cream shop.
Can I add mix-ins other than Biscoff cookies?
Absolutely! While Biscoff cookies are the star, feel free to experiment with nuts, chocolate chips, or swirls of caramel for personalized creations that keep the base flavors vibrant.
Do I need an ice cream maker for this recipe?
No ice cream maker required! The whipped cream technique gives this ice cream its soft, creamy texture, making this the ultimate easy no-churn dessert that anyone can make at home.
Final Thoughts
This Easy Biscoff Ice Cream Recipe is not just a dessert; it’s a little scoop of happiness infused with the warmth and sweetness of everyone’s favorite cookie buttery treat. Whether for a casual family night or a special occasion, I promise this recipe will bring smiles and satisfied cravings. So grab your ingredients, get whisking, and treat yourself to this homemade delight – you deserve it!
Print
Easy Biscoff Ice Cream Recipe
- Prep Time: 15 minutes
- Cook Time: 0 minutes
- Total Time: 8 hours 15 minutes
- Yield: 6 servings
- Category: Dessert
- Method: No-Cook
- Cuisine: American
Description
This Easy Biscoff Ice Cream combines creamy sweetened condensed milk and whipped cream with the rich, spiced flavor of Biscoff cookie butter and crunchy chopped Biscoff cookies. No ice cream maker required—just mix, layer, swirl, and freeze for a decadent homemade dessert that’s perfect for Biscoff lovers.
Ingredients
Ice Cream Base
- 1 can (14 ounces) sweetened condensed milk
- 1 cup Biscoff cookie butter (divided)
- 2 cups heavy whipping cream
- 1 teaspoon vanilla extract
Mix-ins and Topping
- 1 ¼ cups chopped Biscoff cookies (divided)
Instructions
- Combine Condensed Milk and Cookie Butter: In a large bowl, whisk together the sweetened condensed milk and 1/2 cup of Biscoff cookie butter until smooth and fully combined. Set aside while you prepare the other components.
- Microwave Remaining Cookie Butter: Place the remaining 1/2 cup of Biscoff cookie butter in a microwave-safe bowl. Microwave for about 30 seconds until it is slightly melted and pourable. Set this aside for layering later.
- Whip Cream and Fold Mixtures: In a separate large bowl, use an electric mixer to beat the heavy whipping cream and vanilla extract until stiff peaks form. Gently fold the whipped cream into the sweetened condensed milk and cookie butter mixture until just combined. Then fold in 1 cup of chopped Biscoff cookies to add crunch throughout the ice cream.
- Layer Ice Cream Mixture and Cookie Butter: Using a 9×5-inch loaf pan, pour one-third of the ice cream mixture into the pan and spread it evenly. Drip a few drops of the melted cookie butter over the top. Repeat layering with another third of the ice cream, adding more drizzled cookie butter, and finish with the final third of the ice cream and cookie butter.
- Swirl and Sprinkle Topping: Use a knife to gently swirl the layers of melted cookie butter into the ice cream for a marbled effect. Sprinkle the remaining 1/4 cup chopped Biscoff cookies evenly on top. Cover the pan tightly with a lid or plastic wrap.
- Freeze: Place the pan in the freezer for at least 8 hours to allow the ice cream to fully set. Once frozen, scoop out and enjoy your rich, creamy, and crunchy Biscoff ice cream!
Notes
- Use full-fat heavy whipping cream for the best texture and creaminess.
- Be careful not to overmix the whipped cream when folding; fold gently to keep the mixture airy.
- The melted cookie butter layer creates delicious swirls—don’t skip this step to maximize flavor and texture.
- Allow the ice cream to freeze completely for at least 8 hours or overnight for optimal firmness.
- Store leftovers covered in the freezer for up to 2 weeks.


