
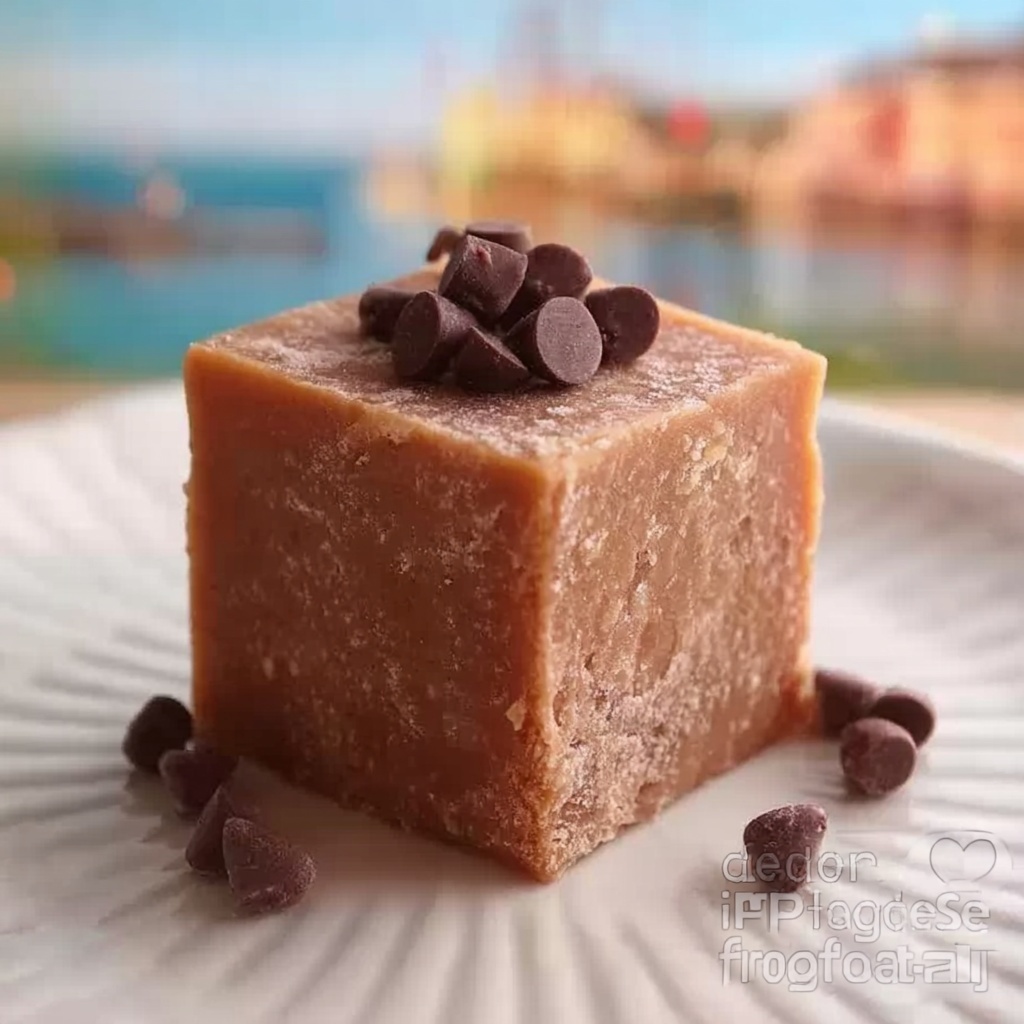
If you are searching for a rich, comforting, and utterly delicious treat, look no further than Mom’s Classic Fudge Recipe. This timeless sweetness brings together simple pantry staples to create a perfectly smooth, creamy fudge that melts in your mouth with every bite. It’s that nostalgic flavor you crave, the one that reminds you of warm family gatherings and the joy of homemade desserts. Trust me, once you try this fudge, it will become your go-to recipe to share and savor time and time again.
Ingredients You’ll Need
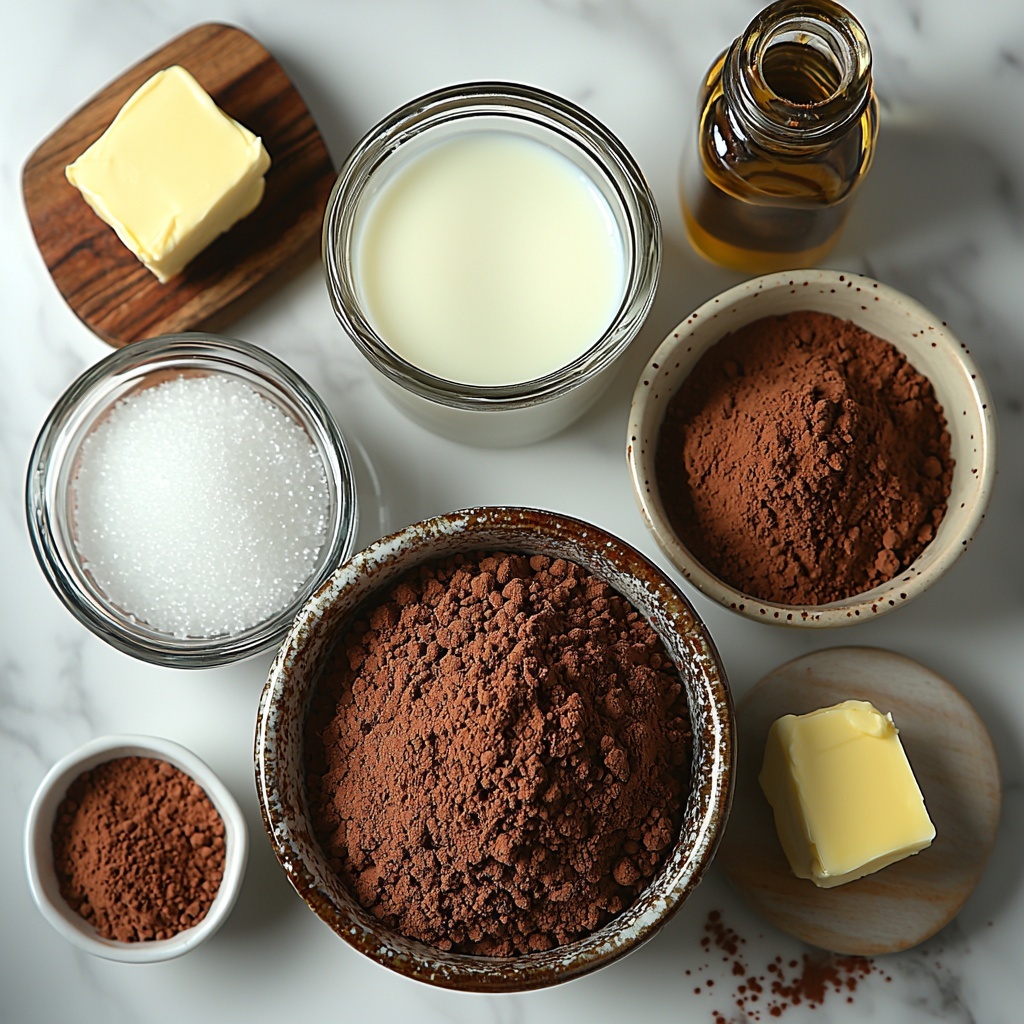
What makes Mom’s Classic Fudge Recipe so special is how straightforward yet thoughtfully selected the ingredients are. Each component plays a vital role in delivering that luscious texture and deep chocolate flavor that fudge lovers dream about.
- Granulated sugar: The essential sweet foundation that caramelizes lightly for perfect fudgy body.
- Unsweetened cocoa powder: Adds intense chocolate richness without any extra sweetness.
- Salt: A tiny pinch to balance flavors and enhance the chocolate notes.
- Whole milk: Provides creaminess and moisture for that melt-in-your-mouth feel.
- Unsalted butter: Introduces silkiness and depth while helping the fudge set properly.
- Vanilla extract: A splash of warmth and aromatic sweetness that brightens the chocolate.
How to Make Mom’s Classic Fudge Recipe
Step 1: Blend the Dry Ingredients
Start by combining the sugar, cocoa powder, and salt in a heavy saucepan. Stir these together until they are evenly mixed. This ensures that when the liquids join, the chocolate flavor is evenly distributed and the sugar melts uniformly.
Step 2: Add Milk and Heat
Pour in the whole milk and stir gently to combine everything smoothly. Place the saucepan over medium heat and bring the mixture to a rolling boil. The boiling process is critical because it dissolves the sugar and starts the thickening that will form the fudge’s structure.
Step 3: Boil to Soft Ball Stage
Once boiling, stop stirring and let the mixture continue to boil until it reaches precisely 234°F, known as the soft ball stage. This is the key temperature that indicates the fudge will have the ideal texture—not too hard, not too soft.
Step 4: Add Butter and Vanilla, Cool
Remove the saucepan from heat immediately after reaching the correct temperature. Stir in the butter and vanilla extract, then let the mixture cool undisturbed until it drops to 110°F. It’s important not to stir during this cooling phase so the fudge can set perfectly.
Step 5: Beat Until Thickened
Using a wooden spoon, beat the fudge mixture vigorously. Keep going for about 7 to 10 minutes until it thickens visibly, losing its shiny gloss and becoming more opaque. This step transforms the molten fudge into something wonderfully spreadable.
Step 6: Pour and Set
Grease an 8×8-inch pan thoroughly with butter, then pour in your fudge. Spread it out evenly and allow it to set completely. When firm, cut the fudge into 36 bite-sized squares that are perfect for sharing or saving for later.
How to Serve Mom’s Classic Fudge Recipe
Garnishes
While this fudge shines on its own, adding a few creative garnishes can elevate the experience. Consider a light sprinkle of flaky sea salt on top before it sets for a delightful sweet-salty contrast. Chopped nuts like pecans or walnuts add texture and a nutty flavor. Or, dust with a hint of cocoa powder or powdered sugar for a pretty finish.
Side Dishes
Pairing your fudge with other goodies can create an impressive dessert spread. Fresh berries offer a juicy contrast, lifting the richness of the fudge. A scoop of vanilla ice cream is always a crowd-pleaser alongside these chocolate squares. For cozy gatherings, serve with hot coffee or a robust cup of tea to complement the deep chocolate flavors.
Creative Ways to Present
Presentation can make your fudge feel even more special. Try arranging squares in a decorative tin lined with parchment paper for gifting. Use mini cupcake liners to serve individual pieces, perfect for parties or potlucks. Or stack the fudge with layers of different flavored bars to create a stunning, multicolored dessert tray.
Make Ahead and Storage
Storing Leftovers
Mom’s Classic Fudge Recipe keeps wonderfully in an airtight container at room temperature for up to two weeks. Keeping it sealed maintains its softness and prevents it from drying out or absorbing other odors.
Freezing
If you want to make a big batch ahead of time, fudge freezes beautifully. Wrap pieces tightly in plastic wrap, then place them in a freezer-safe container. This way, your fudge can last up to three months. Thaw in the fridge before enjoying for best texture.
Reheating
Fudge is meant to be enjoyed chilled or at room temperature, but if it feels a bit firm from the fridge or freezer, let it warm gently on the counter for 10 to 15 minutes before serving. Avoid microwaving as it can melt unevenly and lose that perfect fudge consistency.
FAQs
Can I use milk chocolate instead of cocoa powder in Mom’s Classic Fudge Recipe?
While you can experiment with milk chocolate, the recipe relies on unsweetened cocoa powder to control the sweetness and texture. Using milk chocolate may result in a softer fudge and a sweeter taste, so adjustments to sugar may be necessary.
What is the “soft ball stage” and why is it important?
The soft ball stage refers to heating sugar syrup to about 234°F. At this temperature, the sugar concentration is perfect for fudge—firm enough to set but still creamy. Reaching this precise point is crucial for the ideal fudge texture.
Can I substitute a different type of milk?
Whole milk provides the necessary fat content for smooth fudge. Using lower-fat milk, like skim, may create a less creamy texture. For a richer fudge, some people use half-and-half or add heavy cream, but that will slightly alter the original recipe.
How long does it take for the fudge to set?
After pouring the fudge into the pan, it usually takes at least 2 hours at room temperature to fully set. For quicker results, you can refrigerate it for about an hour, but letting it rest naturally helps maintain the best texture.
Can I add nuts or other flavors into this recipe?
Absolutely! Adding chopped nuts, dried fruit, or even a swirl of peanut butter before the fudge sets can personalize the recipe to your taste. Just fold them in gently after beating the mixture and before pouring into the pan.
Final Thoughts
There is something truly magical about making Mom’s Classic Fudge Recipe from scratch—it reconnects us with simple pleasures and brings joy to any occasion. Once you master this recipe, you’ll have a reliable, beloved treat that’s perfect for sharing with loved ones or savoring all by yourself. I encourage you to dive into this delicious tradition and create sweet memories that last.
Print
Mom’s Classic Fudge Recipe
- Prep Time: 5 minutes
- Cook Time: 25 minutes
- Total Time: 35 minutes
- Yield: 36 servings
- Category: Dessert
- Method: Stovetop
- Cuisine: American
Description
This classic Mom’s Fudge recipe delivers a rich, creamy, and chocolatey treat that’s easy to make at home. Using simple ingredients like sugar, cocoa powder, milk, butter, and vanilla, this fudge is cooked to the perfect soft ball stage and then beaten to a luscious, smooth consistency. Ideal for sharing, this recipe yields 36 delicious squares of nostalgic, luscious fudge perfect for holidays, gifts, or anytime indulgence.
Ingredients
Ingredients
- 3 cups granulated sugar
- 2/3 cup unsweetened cocoa powder
- 1/8 teaspoon salt
- 1 1/2 cups whole milk
- 1/4 cup unsalted butter
- 1 teaspoon vanilla extract
Instructions
- Combine Dry Ingredients: In a heavy saucepan, combine the granulated sugar, unsweetened cocoa powder, and salt. Stir these dry ingredients together until fully blended to ensure an even chocolate base.
- Add Milk and Heat: Pour in the whole milk and stir to combine. Place the saucepan over medium heat and continue stirring until the mixture reaches a rolling boil.
- Boil to Soft Ball Stage: Once boiling, stop stirring and allow the mixture to continue boiling until it reaches 234°F on a candy thermometer, known as the soft ball stage, critical for proper fudge texture.
- Remove and Add Flavorings: Remove the saucepan from heat, then stir in the unsalted butter and vanilla extract. Let the mixture cool undisturbed until it reaches 110°F. Do not stir during this cooling phase to allow proper crystal formation.
- Beat the Mixture: Using a wooden spoon, beat the fudge mixture vigorously until it thickens and loses its gloss, which should take about 7-10 minutes. This step develops the smokey texture and creamy consistency.
- Set the Fudge: Pour the beaten fudge into a buttered 8×8-inch pan, spreading it evenly. Allow it to set completely at room temperature before cutting into 36 small squares for serving.
Notes
- Use a heavy-bottomed saucepan to prevent hot spots and burning.
- A reliable candy thermometer is essential for reaching the correct soft ball stage.
- Do not stir the mixture while it is boiling to avoid grainy fudge texture.
- Cooling to 110°F before beating is crucial for proper crystallization and smooth texture.
- Beat the fudge well; under beating will result in sticky fudge, over beating may cause it to harden too much.
- If desired, you can add chopped nuts or sprinkles during the final step before setting.


