
“`html
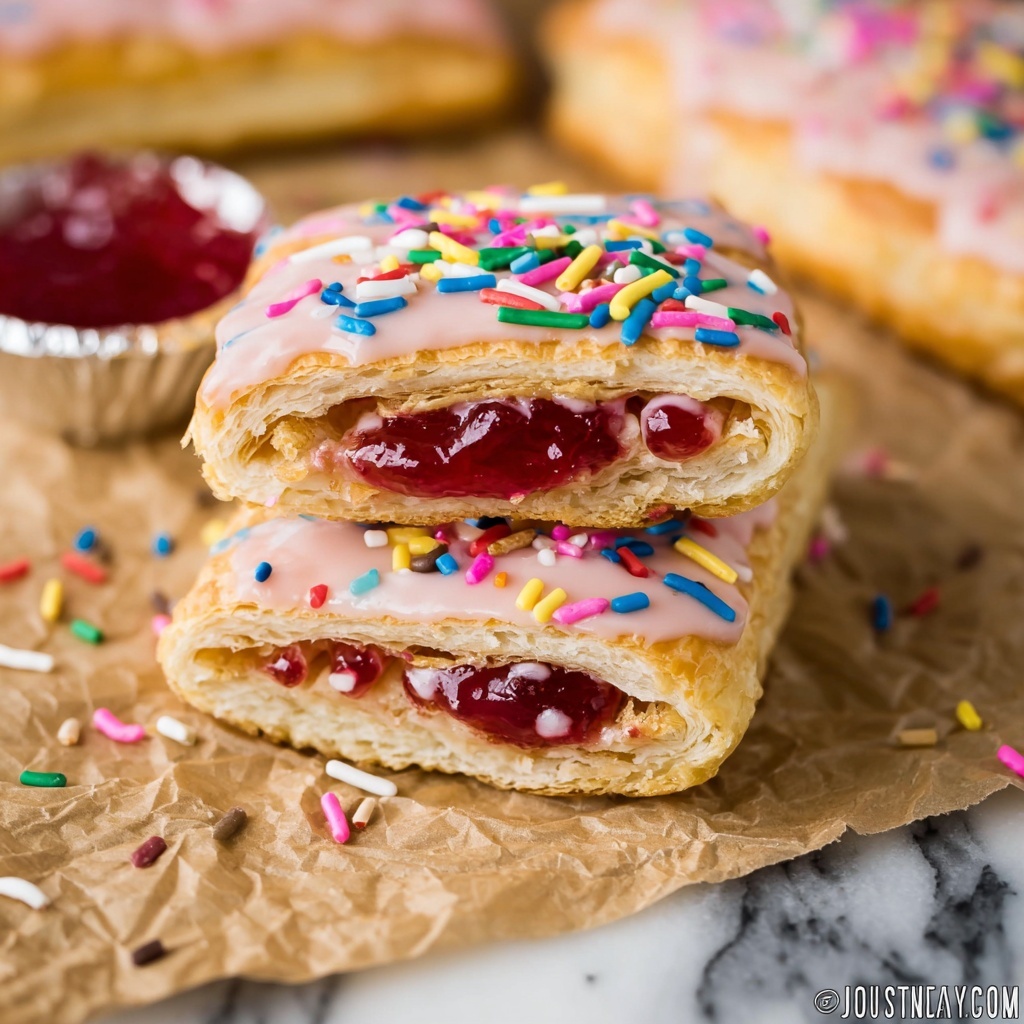
If you’ve ever craved the nostalgic joy of a pop tart but wanted something fresher, more personal, and downright delightful, then you’re in for a treat with this Easy Homemade Pop Tarts with Pie Crust Recipe. These flaky, buttery pockets filled with luscious jam and topped with a sweet glaze bring that classic comfort food vibe into your kitchen without any complicated fuss. The magic lies in using rolled pie crust, which delivers that perfect buttery flakiness combined with the gooey sweetness inside. Whether it’s breakfast, a snack, or a cozy afternoon pick-me-up, this recipe is a deliciously simple way to make your day better.
Ingredients You’ll Need
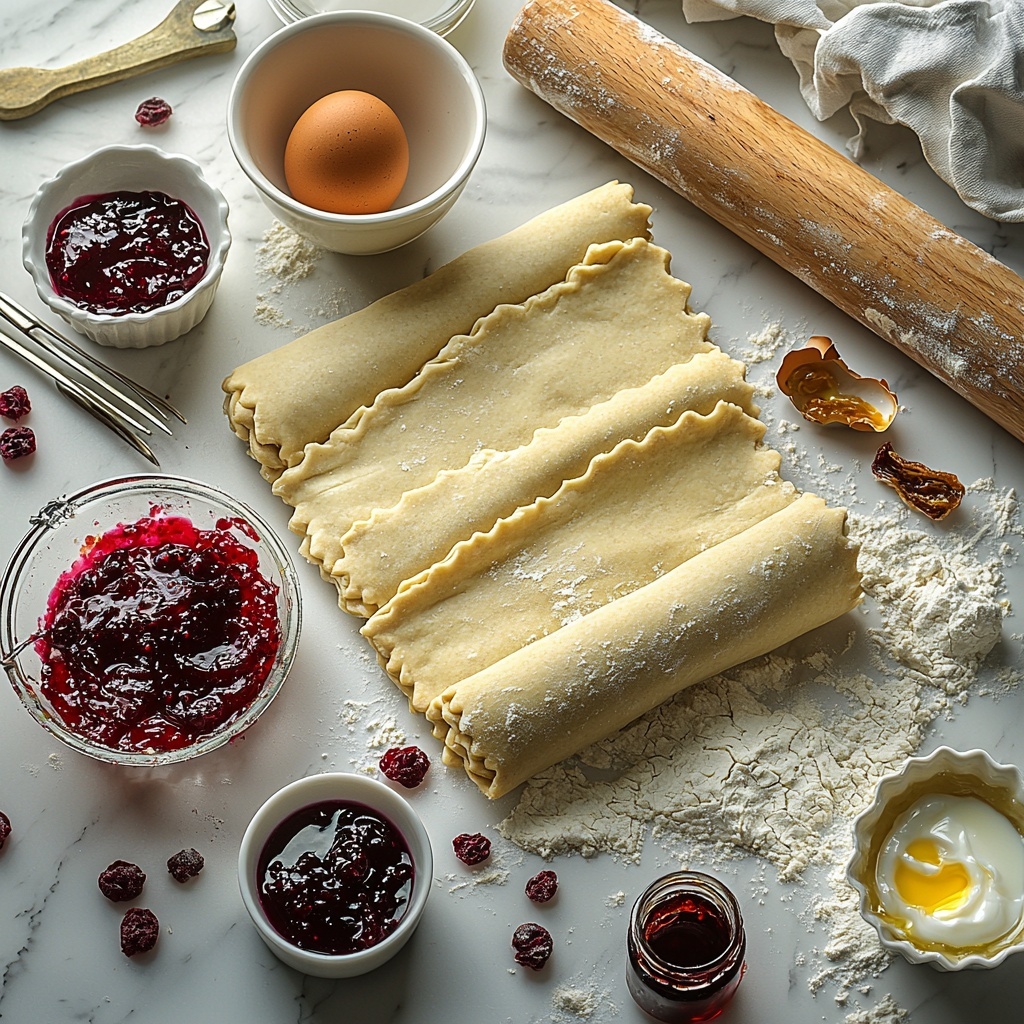
Getting started with this recipe means gathering a handful of very approachable ingredients—each one playing a vital role in creating those perfectly tender, flavorful pop tarts. From the flaky pie crust base to the glossy icing glaze, each element works together to build layers of irresistible taste, texture, and color.
- Rolled pie crust (1 package, 2 ct. 7.5 oz): This is the star that ensures a flaky, buttery base without the effort of making pastry from scratch.
- Jam or preserves (1 cup plus 2 tablespoons): Adds vibrant, fruity sweetness and a burst of color inside and on top of the tarts.
- Large egg (1): Used for egg wash to give the pop tarts a beautiful golden shine and help seal the edges.
- Powdered sugar (1 cup): The key to a smooth, sweet icing glaze to finish the tarts with a lovely touch of sweetness.
- Milk or cream (2-3 tablespoons): Helps thin the icing glaze to the perfect consistency for spreading smoothly.
- Vanilla extract (1/2 teaspoon): Adds a warm, aromatic note to the glaze, making every bite a bit more special.
How to Make Easy Homemade Pop Tarts with Pie Crust Recipe
Step 1: Prepare Your Oven and Workspace
Start by preheating your oven to 400°F so it’s perfectly hot when your pop tarts are ready to bake. Lay out a sheet of parchment on a baking sheet for easy cleanup, because these tarts will brown beautifully on a non-stick surface and make your baking experience hassle-free.
Step 2: Cut Out Your Tart Shapes
Unroll the pie crust onto a fresh piece of parchment and cut out as many rectangles roughly 3 inches by 5 inches as you can, using an index card or any similarly sized guide. Don’t toss the leftover dough! Knead it gently back together and roll out again for more tart pieces so nothing goes to waste.
Step 3: Assemble the Pop Tarts
Beat the egg to create an egg wash that will give your tarts a stunning golden finish. Lay 8 rectangles on your baking sheet, spoon about 1 1/2 tablespoons of your favorite jam onto each, then brush edges lightly with the egg wash before topping them with another rectangle. Press the edges together firmly and crimp with a fork to seal the filling inside. Don’t forget to poke a few small holes on the top to allow steam to escape as they bake. Finish with a generous brush of egg wash on top of each tart.
Step 4: Bake Until Golden
Pop the assembled pop tarts in the oven and bake for 12 to 15 minutes. Keep a close eye—they’ll turn a gorgeous golden brown, signaling they’re perfectly cooked with a flaky crust and warm, jammy center.
Step 5: Glaze and Decorate
Once the pop tarts have cooled down slightly, whisk together powdered sugar, milk or cream, and vanilla to make a smooth glaze. Spread this icing over each tart and feel free to add fun toppings like sprinkles, crushed freeze-dried berries, or even edible rose petals for a whimsical touch. The glaze adds that extra burst of sweetness and just the right amount of shimmer.
How to Serve Easy Homemade Pop Tarts with Pie Crust Recipe
Garnishes
Adding a few decorative garnishes can really elevate your pop tarts. Bright sprinkles or crushed freeze-dried fruit give a delightful texture and pop of color. If you want to get creative and fancy, edible flower petals make these treats look like little works of art perfect for sharing with loved ones.
Side Dishes
These pop tarts pair beautifully with a simple cup of milk or your morning coffee. For a more substantial breakfast, serve alongside fresh fruit or a dollop of yogurt. Their sweet richness balances well with light, fresh sides, creating a well-rounded start to your day.
Creative Ways to Present
Set up a DIY pop tart bar for brunch where everyone can customize their toppings and icings. You can also cut smaller bite-sized pieces for party snacks or wrap them up for on-the-go treats. The flaky pie crust keeps these pop tarts portable and perfect for sharing anytime.
Make Ahead and Storage
Storing Leftovers
If you have leftovers, store them in an airtight container at room temperature for up to two days. While they’re best enjoyed fresh for peak flakiness, the crust and filling will still be delicious even after resting a bit.
Freezing
These pop tarts freeze wonderfully. Let them cool completely, then wrap individually in plastic wrap and store in a freezer-safe bag. When you want a sweet treat, pull them out and thaw at room temperature or toast gently for a freshly baked feel.
Reheating
To bring your pop tarts back to life, pop them in a toaster oven or regular oven at low heat until warmed through and crisp around the edges. Avoid microwaving if possible, as it can soften the crust and make these flaky treats less enjoyable.
FAQs
Can I use homemade pie crust for this recipe?
Absolutely! If you have homemade pie crust on hand, it will work just as beautifully. The key is to roll it out thin and handle it gently so it stays flaky and doesn’t get tough when baked.
What kinds of jam work best in this recipe?
Any jam or preserve you love will shine in these pop tarts—from classic strawberry and raspberry to more adventurous flavors like apricot or fig. Just make sure it’s not too watery to avoid soggy crusts.
Can I make these pop tarts gluten-free?
Yes, by choosing a gluten-free pie crust from your grocery store or making your own, you can enjoy this recipe without gluten. Just ensure the other ingredients you use don’t contain gluten as well.
How do I prevent the filling from leaking out during baking?
Sealing the edges well with egg wash and crimping with a fork creates a tight barrier that keeps the jam inside while baking. Also, avoid overfilling each tart; just about 1 1/2 tablespoons of jam works best.
Can I skip the glaze if I want a less sweet version?
Definitely! The glaze is optional and adds sweetness and a glossy finish, but the pop tarts themselves taste wonderful without it. You can also drizzle just a little honey or dust them lightly with powdered sugar for a more delicate finish.
Final Thoughts
Making Easy Homemade Pop Tarts with Pie Crust Recipe is genuinely one of those kitchen wins that feels both nostalgic and special. With simple ingredients and straightforward steps, you create something joyful and comforting that tastes so much better than store-bought versions. I can’t wait for you to try this recipe and make it your own little tradition — you’ll be surprised how quickly these tarts disappear once they’re out of the oven!
“`
Print
Easy Homemade Pop Tarts with Pie Crust Recipe
- Prep Time: 15 minutes
- Cook Time: 15 minutes
- Total Time: 35 minutes
- Yield: 6 servings
- Category: Breakfast
- Method: Baking
- Cuisine: American
Description
These Easy Homemade Pop Tarts are a delightful and simple treat made from rolled pie crust and your favorite jam or preserves. Perfect as a nostalgic breakfast or a sweet snack, they feature a golden crust baked to perfection and a smooth, sweet glaze topping. The recipe is quick to prepare, requiring just 35 minutes from start to finish, and yields six servings.
Ingredients
Pop Tarts
- 1 package rolled pie crust (2 count, 7.5 oz total)
- 1 cup plus 2 tablespoons jam or preserves (flavor of choice)
- 1 large egg (for egg wash)
Icing
- 1 cup powdered sugar
- 2–3 tablespoons milk or cream
- 2 tablespoons jam
- 1/2 teaspoon vanilla extract
Instructions
- Preheat Oven: Preheat your oven to 400°F (204°C) to get it ready for baking the pop tarts.
- Prepare Pie Crust Rectangles: Lay a sheet of parchment paper on a baking sheet. Unroll one sheet of pie crust onto another sheet of parchment. Cut out rectangles approximately 3 inches by 5 inches using an index card or ruler as a guide. Gather the leftover crust pieces, knead them together, and roll out into a thin layer just under 1/4 inch thick to cut more rectangles. Alternatively, you can cut and assemble pop tarts individually.
- Assemble Pop Tarts: Beat the egg in a small bowl to make your egg wash. Place 8 rectangles on the parchment-lined baking sheet. Spoon about 1 1/2 tablespoons of jam onto each rectangle, spreading gently but keeping away from the edges. Brush the edges of each rectangle with the egg wash, then lay a second rectangle on top. Pinch the edges together gently to seal, then crimp with a fork around the edges. Poke small holes on the top surface to allow steam to escape. Brush the entire top of each pop tart, including edges, with the egg wash for a beautiful golden finish.
- Bake: Bake the pop tarts in the preheated oven for 12 to 15 minutes, or until they turn golden brown and flaky.
- Prepare and Apply Icing: While the pop tarts cool, whisk together the powdered sugar, milk or cream, jam, and vanilla extract to create the icing. Spread the icing over each cooled pop tart. Optionally, decorate with sprinkles, crushed freeze-dried berries, or edible rose petals for an elegant touch.
- Storage: Store the pop tarts in an airtight container for up to two days. They are best enjoyed fresh.
Notes
- Use any jam or preserves of your choice to customize flavors.
- Ensure to poke holes on the top crust to prevent bubbling during baking.
- The icing adds sweetness and moisture but can be omitted if preferred.
- Pop tarts are best enjoyed fresh but can be stored for short periods in an airtight container.
- Use parchment paper for easy cleanup and prevent sticking.


