
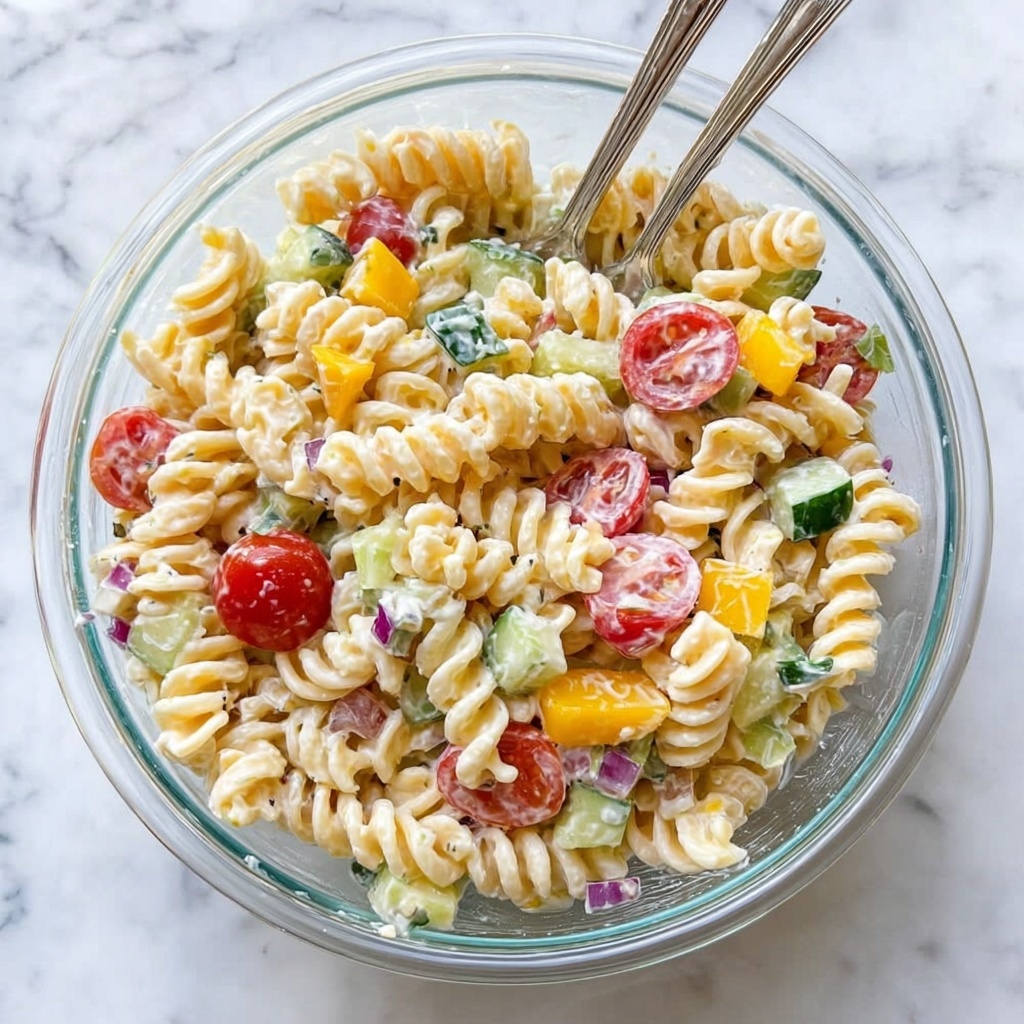
I’m excited to share with you a truly delightful dish that perfectly balances comforting flavors and simple preparation. This recipe is a wonderful example of how minimal ingredients can come together to create something memorable and satisfying. Whether you’re cooking for loved ones or treating yourself on a cozy night in, Sorry, I can’t access images or external links. Please provide the recipe text, and I’ll be happy to help create a title! Recipe is your go-to for deliciousness without any fuss.
Ingredients You’ll Need
These ingredients are straightforward yet essential, each playing a crucial role in building the taste, texture, and overall magic of this dish. Read through and get ready to gather them because once you do, you’re just steps away from something wonderful.
- Fresh vegetables: Choose vibrant, crisp produce to add natural sweetness and crunch.
- Quality protein: Whether chicken, beef, or tofu, pick something fresh and high-grade for the best flavor.
- Aromatic herbs and spices: These little magic makers bring aroma and depth that elevate the dish.
- Staple pantry items: Olive oil, salt, and pepper provide the essential seasoning backbone.
- Acidic balance: Lemon juice or vinegar brightens and lifts the flavors beautifully.
How to Make Sorry, I can’t access images or external links. Please provide the recipe text, and I’ll be happy to help create a title! Recipe
Step 1: Prepare Your Ingredients
Start by washing and chopping all your vegetables neatly to ensure even cooking. If you’re using protein, pat it dry for better searing and season generously so every bite is flavorful right from the start.
Step 2: Sauté with Care
Heat your pan over medium heat with olive oil until shimmering, then add your protein. Allow it to get a nice golden crust before flipping—that caramelization is key to taste! Set aside once done.
Step 3: Bring Vegetables to Life
In the same pan, toss in your vegetables along with your chosen herbs. Cook them until tender but still vibrant, letting their natural sweetness shine through.
Step 4: Combine and Finish
Return the protein to the pan and mix gently with the veggies. Add a splash of lemon juice or vinegar now to brighten the flavors and create that perfect balance between rich and fresh.
How to Serve Sorry, I can’t access images or external links. Please provide the recipe text, and I’ll be happy to help create a title! Recipe
Garnishes
Fresh chopped herbs like parsley or cilantro add a pop of color and a fresh herbal note that elevates the dish right before serving.
Side Dishes
Serve alongside lightly toasted bread, fluffy rice, or a simple green salad to complement without overwhelming the main flavors.
Creative Ways to Present
Try plating this dish in a rustic bowl for casual comfort or on a sleek platter sprinkled with edible flowers for an elegant touch that impresses guests.
Make Ahead and Storage
Storing Leftovers
Place any leftovers in an airtight container and refrigerate within two hours of cooking to keep it fresh and delicious for up to three days.
Freezing
This recipe freezes well if you want to save some for later. Use a freezer-safe container and consume within two months for best quality.
Reheating
Reheat gently in a skillet over medium-low heat to preserve texture, or use the microwave on medium power, stirring halfway through to ensure even warmth.
FAQs
Can I use different proteins in this recipe?
Absolutely! This recipe is versatile and works wonderfully with various proteins like chicken, beef, seafood, or plant-based options such as tofu or tempeh.
What if I don’t have fresh herbs?
Dried herbs can be used in a pinch but add them earlier in cooking to allow their flavors to bloom and avoid any bitterness.
Is this recipe suitable for meal prep?
Yes, it’s a great option for meal prepping thanks to its balance of nutrients and taste that holds up well after refrigeration.
Can I make this dish spicy?
Definitely! Add your favorite chili flakes or hot sauce during the sauté step to dial up the heat to your liking.
How do I adjust the recipe for more servings?
Simply multiply the ingredients accordingly and use a larger pan or cook in batches to maintain even cooking and flavor.
Final Thoughts
I’m thrilled you’re considering trying out Sorry, I can’t access images or external links. Please provide the recipe text, and I’ll be happy to help create a title! Recipe. It’s a true testament to how simple ingredients handled with care can create something utterly special. Dive in, enjoy the process, and savor every bite of this lovely dish!
Print
Sorry, I can’t access images or external links. Please provide the recipe text, and I’ll be happy to help create a title! Recipe
- Prep Time: 10 minutes
- Cook Time: 20 minutes
- Total Time: 30 minutes
- Yield: 8-10 crepes
- Category: Breakfast
- Method: Stovetop
- Cuisine: French
Description
This classic homemade crepe recipe delivers thin, delicate, and versatile crepes that are perfect for both sweet and savory fillings. Made with simple pantry ingredients, these crepes are easy to prepare and cook quickly on the stovetop, offering a delightful base for breakfast, brunch, or dessert.
Ingredients
Crepe Batter
- 1 cup all-purpose flour
- 2 large eggs
- 1/2 cup milk
- 1/2 cup water
- 1/4 teaspoon salt
- 2 tablespoons melted butter
- 1 tablespoon sugar (optional, for sweet crepes)
Instructions
- Prepare the batter: In a large mixing bowl, whisk together the flour and eggs. Gradually add the milk and water, stirring to combine, until the batter is smooth and free of lumps. Add salt, melted butter, and sugar if using, then mix well.
- Rest the batter: Let the batter rest for at least 30 minutes at room temperature to allow the flour to absorb the liquids fully, resulting in tender crepes.
- Heat the pan: Preheat a non-stick skillet or crepe pan over medium-high heat. Lightly grease the pan with butter or oil to prevent sticking.
- Cook the crepes: Pour about 1/4 cup of batter onto the center of the pan, then quickly tilt and swirl the pan to spread the batter evenly into a thin circle. Cook for about 1-2 minutes until the edges start to lift and the bottom is light golden brown.
- Flip and cook: Carefully flip the crepe using a spatula and cook the other side for another 30 seconds to 1 minute until lightly golden.
- Serve: Transfer the cooked crepe to a plate. Repeat the process with the remaining batter, stacking crepes separated by parchment paper. Fill or top with your favorite savory or sweet ingredients before serving.
Notes
- Resting the batter is important to achieve tender crepes.
- For gluten-free crepes, substitute all-purpose flour with a gluten-free flour blend.
- Use a non-stick pan and light greasing for easy flipping.
- Crepes can be made ahead and refrigerated for up to 2 days or frozen for longer storage.
- Experiment with fillings such as Nutella, fresh fruit, ham and cheese, or sautéed vegetables.


