
“`html
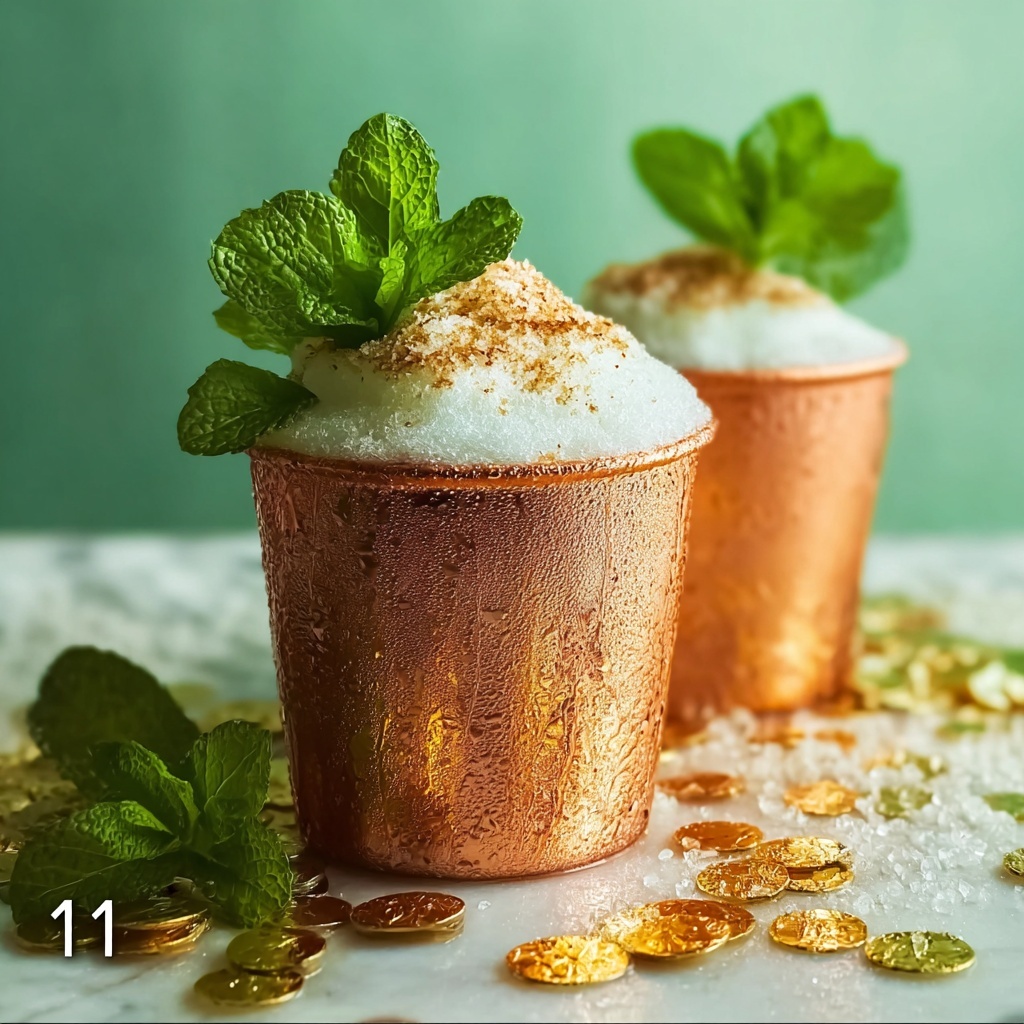
If you’re looking for a festive treat that perfectly captures the magic of St. Patrick’s Day, these Delightful Pot O’ Gold Cups for Your St. Patrick’s Day Bash Recipe will become your new favorite. Picture bite-sized brownie cups crowned with fluffy whipped cream clouds, vibrant rainbow candy belts resembling shimmering rainbows, and a sprinkle of golden sanding sugar adding that perfect sparkle. These charming little cups bring joy, color, and a deliciously rich chocolate base all in one, making them irresistible for any celebration.
Ingredients You’ll Need
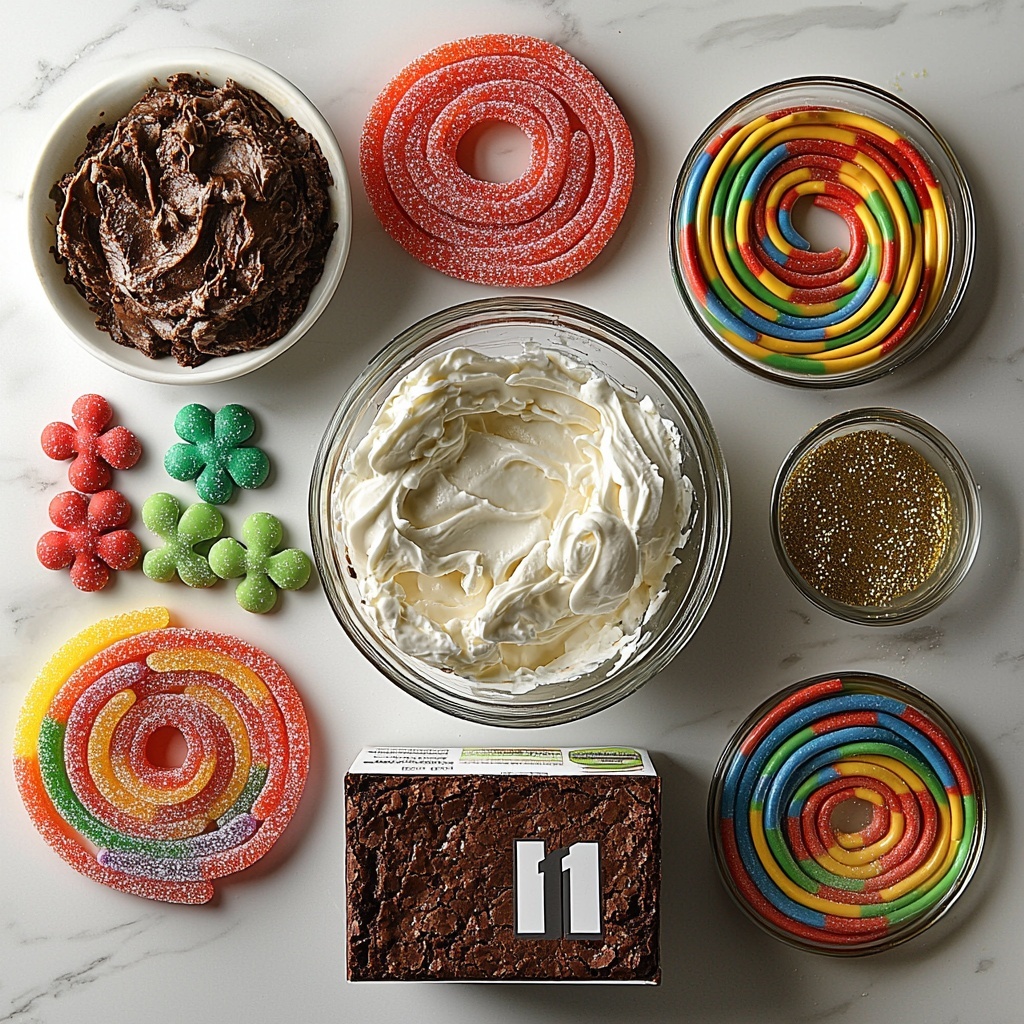
This recipe is wonderfully simple, relying on just a handful of ingredients, each playing a vital role in creating those enchanting Pot O’ Gold Cups. From the rich chocolate base to the lively and colorful toppings, every element elevates the final dish with texture, flavor, and visual delight.
- 1 can cooking spray: Essential for ensuring your brownies don’t stick to the muffin tin, making removal easy and clean.
- 1 box brownie mix: Use your favorite brand for the best chocolate flavor and a perfectly moist, fudgy texture.
- 2 cups whipped cream: Acts as the fluffy “cloud” topping; fresh is wonderful but store-bought works great too.
- 1 cup rainbow candy belts: These add the whimsical burst of color that mimics rainbows—fun and festive!
- 1 tablespoon gold sanding sugar: Adds a sparkling golden finish to truly make your cups shine like precious treasures.
How to Make Delightful Pot O’ Gold Cups for Your St. Patrick’s Day Bash Recipe
Step 1: Get Your Oven and Pan Ready
Start by preheating your oven to 350°F (175°C). This ensures an even baking temperature right from the start. Prepare a muffin tin by either spraying it generously with cooking spray or lining the cups with parchment paper if you prefer. Taking this step will help the brownie cups release effortlessly later.
Step 2: Mix Your Brownie Batter
Next, follow the instructions on your box brownie mix to get a smooth, luscious batter. This is the heart of your Pot O’ Gold Cups, so be sure to stir until all the lumps are gone for that perfect fudgy texture.
Step 3: Fill the Muffin Cups
Fill each muffin cup about two-thirds full with the brownie batter. This gives them room to rise and still maintain a compact, cupcake-like shape without spilling over.
Step 4: Bake to Perfection
Place the muffin tin in your preheated oven and bake the brownies for approximately 20 minutes. Keep an eye out—the tops should be set, and a toothpick inserted should come out with a few moist crumbs but not wet batter.
Step 5: Cool Your Brownie Cups
After baking, allow the brownie cups to cool in the pan for a few minutes. Then gently remove them and transfer to a wire rack to cool completely. This step is crucial because topping warm brownies with whipped cream can cause the cream to melt and lose its fluffy charm.
Step 6: Add the Magical Toppings
Once cool, generously dollop each brownie cup with whipped cream, mimicking soft white clouds at the end of a rainbow. Next, decorate with strips of rainbow candy belts artfully arranged to look like a joyous arc. Finally, sprinkle a touch of gold sanding sugar on top to add that delightful sparkle, capturing the essence of treasure at the rainbow’s end.
How to Serve Delightful Pot O’ Gold Cups for Your St. Patrick’s Day Bash Recipe
Garnishes
Enhance your Pot O’ Gold Cups with additional garnishes like mini chocolate chips or edible gold stars for extra flair. The key is to keep the decorations playful and vibrant, complementing the existing rainbow and glittery sugar.
Side Dishes
These cups pair perfectly with light, refreshing sides like a crisp green salad or fresh fruit platter, balancing the rich chocolate and creamy toppings. For a drink, consider serving Irish cream or a sparkling cider to toast the occasion.
Creative Ways to Present
Serve your Delightful Pot O’ Gold Cups on a colorful platter lined with green and gold napkins or individual mini dessert plates decorated with edible clover leaves. For a playful touch, you could even arrange them around a “pot” centerpiece filled with gold-wrapped chocolates to truly evoke the St. Patrick’s Day spirit.
Make Ahead and Storage
Storing Leftovers
If you have any leftovers (which is unlikely!), store them in an airtight container in the refrigerator. They will stay fresh and delicious for 3-4 days, ensuring that your magical treats don’t go to waste.
Freezing
You can freeze the baked brownie cups before topping them with whipped cream. Wrap them individually in plastic wrap and place them in a freezer-safe bag or container. They’ll keep well for up to 1 month. When ready, thaw completely before adding toppings for best results.
Reheating
To enjoy warm brownie cups, remove the whipped cream topping and gently warm them in the microwave for 10-15 seconds. Add fresh whipped cream and decorations before serving so your Pot O’ Gold Cups remain as delightful as the day you made them.
FAQs
Can I make these cups gluten-free?
Absolutely! Just swap out the boxed brownie mix for a gluten-free version. Many brands offer a delicious gluten-free brownie mix that works just as well for this recipe.
What if I don’t have rainbow candy belts?
No worries! You can substitute with any colorful candy strips, jelly beans, or even fruit leather cut into strips for a similar rainbow effect.
Is there a way to make the whipped cream topping more stable?
Yes! Using stabilized whipped cream or adding a bit of cream cheese can help maintain that fluffy texture for longer, especially if you need to prepare the cups ahead of time.
Can these be made dairy-free?
For a dairy-free version, use a dairy-free brownie mix, coconut or almond milk whipped topping, and ensure your candy belts are free from dairy ingredients.
How long should I bake the brownie cups?
The brownies bake for about 20 minutes at 350°F (175°C), but since ovens vary, it’s best to check for doneness by inserting a toothpick—it should come out with moist crumbs and no wet batter.
Final Thoughts
The Delightful Pot O’ Gold Cups for Your St. Patrick’s Day Bash Recipe is such a joyful and simple way to bring magic to your celebrations. With minimal ingredients and easy steps, you’re just moments away from serving up a deliciously charming dessert that friends and family will adore. Trust me, these colorful, fluffy, chocolatey treats will quickly become a St. Paddy’s Day tradition you’ll look forward to year after year!
“`
Print
Delightful Pot O’ Gold Cups for Your St. Patrick’s Day Bash Recipe
- Prep Time: 10 minutes
- Cook Time: 20 minutes
- Total Time: 40 minutes
- Yield: 12 servings
- Category: Dessert
- Method: Baking
- Cuisine: American
Description
Celebrate St. Patrick’s Day with these delightful Pot O’ Gold Cups, a fun and festive treat featuring rich brownie bases topped with fluffy whipped cream and colorful rainbow candy belts, all sprinkled with sparkling gold sanding sugar. Perfect for parties, these bite-sized desserts are easy to make and sure to brighten any celebration.
Ingredients
Brownie Base
- 1 can cooking spray (prevents brownies from sticking to the pan)
- 1 box brownie mix (use your favorite brand for optimal flavor)
Toppings
- 2 cups whipped cream (acts as the cloud topping; fresh or store-bought)
- 1 cup rainbow candy belts (fun decor that adds color and whimsy)
- 1 tablespoon gold sanding sugar (delivers sparkle; can be omitted if needed)
Instructions
- Preheat and prepare muffin tin: Preheat your oven to 350°F (175°C). Prepare a muffin tin by spraying it with cooking spray or lining it with parchment paper to prevent sticking.
- Mix brownie batter: In a mixing bowl, combine the brownie mix with required ingredients according to the package instructions. Stir until the batter is smooth and well blended.
- Fill muffin cups: Spoon the brownie batter into the prepared muffin cups, filling each about two-thirds full to allow room for rising during baking.
- Bake the brownies: Place the muffin tin in the preheated oven and bake for approximately 20 minutes, or until a toothpick inserted into the center comes out with just a few moist crumbs.
- Cool the brownies: Remove the pan from the oven and allow brownies to cool for a few minutes in the tin. Then, gently remove them and let them cool completely on a wire rack to prevent condensation.
- Decorate with toppings: Once the brownies are fully cooled, add a generous dollop of whipped cream onto each. Top with strips of rainbow candy belts and sprinkle with gold sanding sugar for a festive, sparkling finish.
Notes
- Use fresh or store-bought whipped cream depending on convenience and preference.
- Rainbow candy belts can be replaced with any colorful candy strips or fruit leather for a similar effect.
- Gold sanding sugar adds sparkle but can be omitted for a less sweet topping.
- Ensure brownies are completely cooled before adding whipped cream to prevent it from melting.
- Store leftovers in an airtight container in the refrigerator to keep the whipped cream fresh.
