
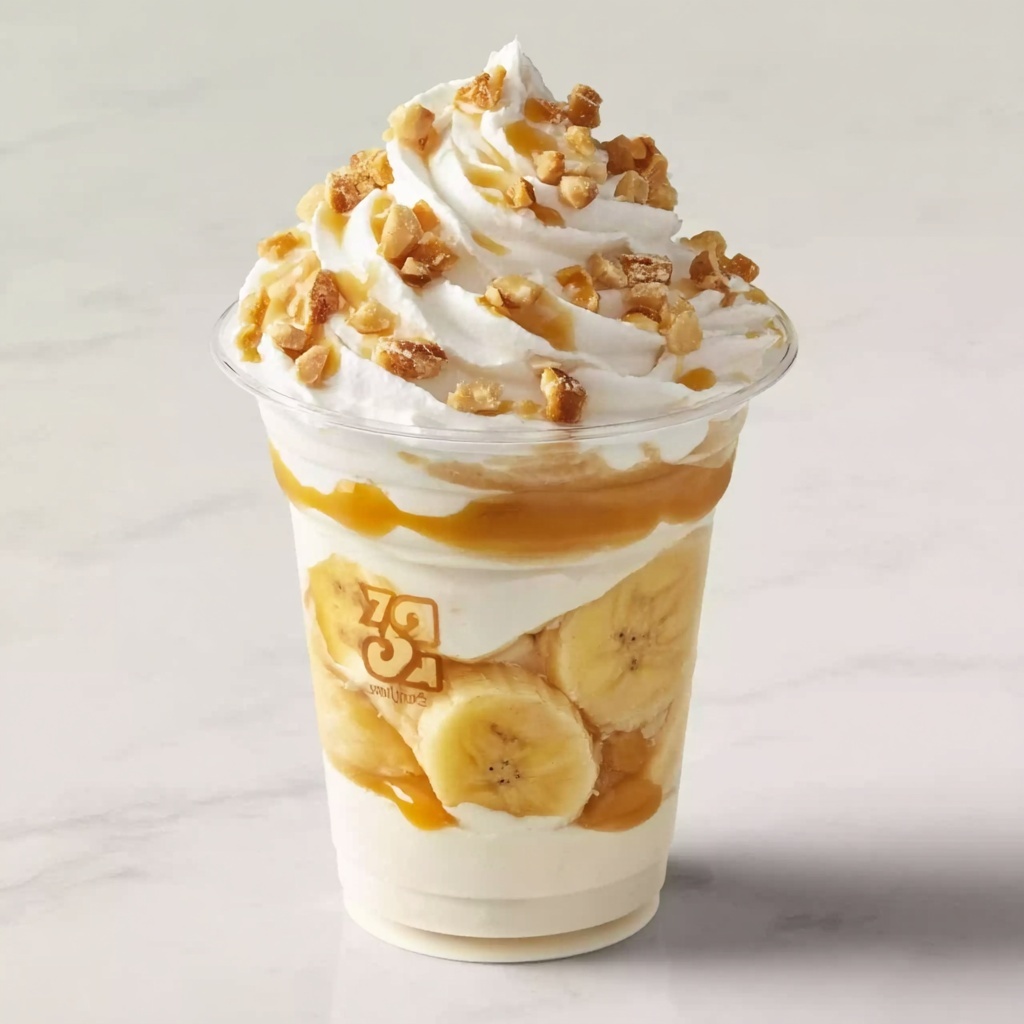
If you’re craving a dessert that feels like a warm hug in every spoonful, this Banana Pudding Cups Recipe is exactly what you need. Combining creamy vanilla pudding, fresh banana slices, and the satisfying crunch of vanilla wafers, these individual cups make indulging delightfully simple and irresistibly delicious. Perfect for sharing or savoring solo, this recipe brings a classic southern treat into a fun, personal format that’s as pretty as it is tasty.
Ingredients You’ll Need
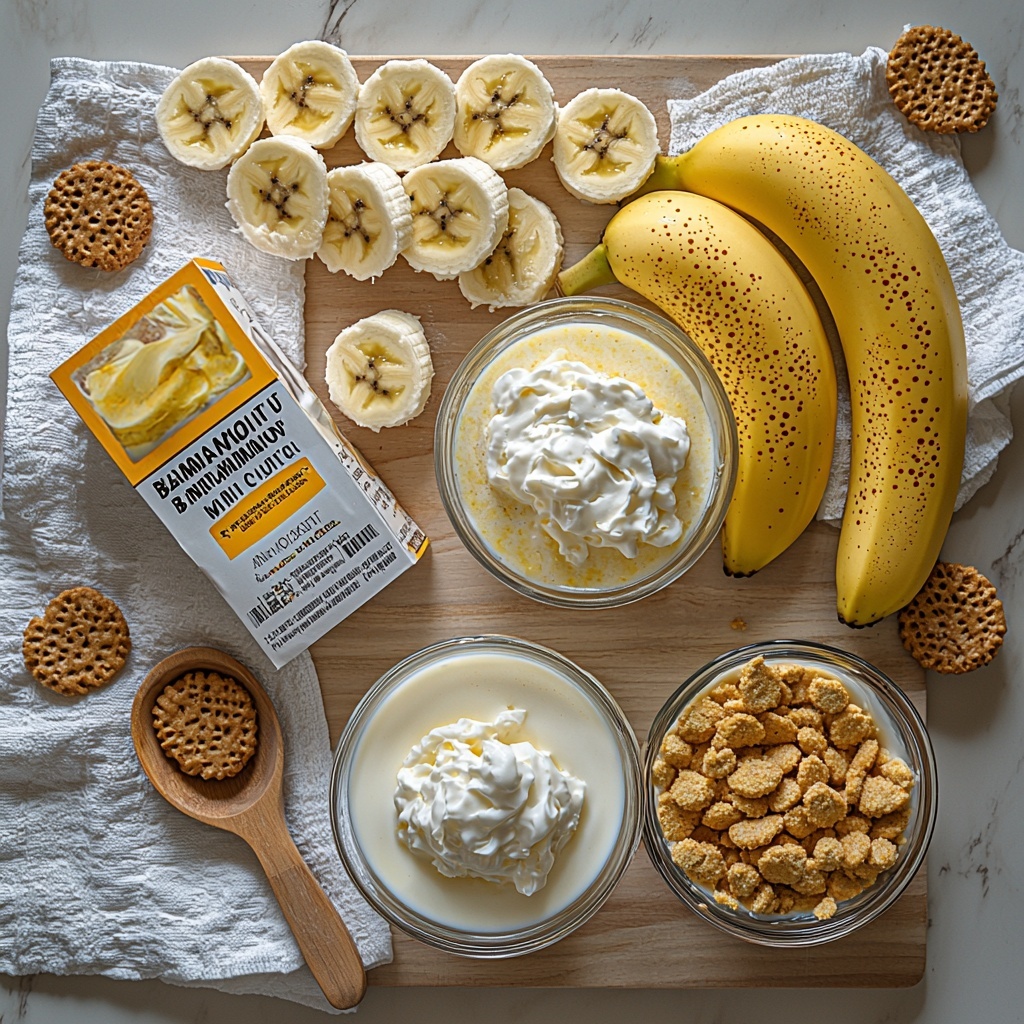
Each ingredient in this Banana Pudding Cups Recipe plays a starring role, coming together in perfect harmony to create a dessert that bursts with flavor and texture. From the creamy pudding base to the fresh bananas and crunchy wafers, these simple essentials turn ordinary into extraordinary.
- Instant vanilla pudding mix: Creates the smooth and rich base with a classic, comforting flavor.
- Cold milk: Essential for whisking the pudding mix to that perfect silky consistency.
- Whipped topping (such as Cool Whip): Adds lightness and creaminess, making the pudding luxuriously fluffy.
- Ripe bananas: Freshly sliced for natural sweetness and a tender, fruity contrast.
- Crushed vanilla wafers: Provide a delightful crunch that breaks up the softness.
- Whole vanilla wafers (for garnish): Give a charming, decorative touch and extra crispness on top.
How to Make Banana Pudding Cups Recipe
Step 1: Prepare the pudding
Start by whisking the instant vanilla pudding mix with cold milk until it’s luxuriously smooth. Refrigerate this magic pot for 5 minutes so it can set perfectly, laying the creamy foundation of your dessert.
Step 2: Fold in whipped topping
To elevate your pudding from good to unforgettable, gently fold in the whipped topping. This step adds a cloud-like fluffiness that lightens the texture while keeping that rich vanilla flavor front and center.
Step 3: Assemble the cups
Now the fun begins! In individual serving cups, alternate layers of crushed vanilla wafers, sliced bananas, and the luscious pudding. Repeat these layers until your cups are filled to the brim — this layering is what makes each spoonful a perfect balance of flavors and textures.
Step 4: Top and garnish
Finish each Banana Pudding Cup with a generous dollop of whipped topping, a sprinkle of crushed vanilla wafers, and a proud whole vanilla wafer standing tall. These simple garnishes not only amp up the presentation but add that final delightful crunch.
Step 5: Chill
Place your assembled cups in the refrigerator for at least 30 minutes to let the flavors meld and the wafers soften slightly, creating that signature banana pudding texture everyone loves.
How to Serve Banana Pudding Cups Recipe
Garnishes
The beauty of this Banana Pudding Cups Recipe is how adorably you can dress it up. Fresh banana slices, a sprinkle of crushed vanilla wafers, and even a tiny mint leaf can add a pop of color and freshness for an extra inviting look. The whole vanilla wafer on top completes the look with a nostalgic nod to the classic.
Side Dishes
While these cups stand strong alone, pairing them with light fare like a crisp green salad or a tangy citrus sorbet can balance the sweet creaminess nicely. Their portable nature also makes them fantastic for picnics or potlucks where you want to bring something crowd-pleasing yet fuss-free.
Creative Ways to Present
Think outside the cup! Serve this Banana Pudding Cups Recipe in clear mason jars, mini trifle bowls, or even inside hollowed-out pineapples for a tropical twist. Layering in tall glasses reveals the beautiful stripes of pudding, banana, and wafers, making the dessert as visually stunning as it is delicious.
Make Ahead and Storage
Storing Leftovers
These Banana Pudding Cups stay fresh and tasty when covered tightly and refrigerated for up to 2 days. The flavors even deepen a bit as they chill, but try to enjoy them before the bananas start browning.
Freezing
Freezing is not recommended for this recipe since the pudding’s texture and the fresh bananas won’t hold up well. The thawing process would cause sogginess and separation, which steals away from that perfect creamy and crunchy combo.
Reheating
Since this dessert is best served chilled, reheating is unnecessary. Instead, take the Banana Pudding Cups out of the fridge a few minutes before serving to soften just slightly for the ideal mouthfeel.
FAQs
Can I use fresh whipped cream instead of whipped topping?
Absolutely! Freshly whipped cream makes a wonderful substitute and can add an extra layer of richness and natural flavor to your Banana Pudding Cups Recipe.
How ripe should the bananas be?
Use bananas that are ripe but still firm to avoid mushiness and discoloration. They should be sweet, slightly soft, and bright yellow with maybe just a hint of brown spots for peak flavor.
Can I make this dessert gluten-free?
Yes, simply swap out the vanilla wafers for a gluten-free alternative to keep the signature crunch and maintain the classic flavor profile.
Is there a way to make this dessert vegan?
You can try using a plant-based instant pudding mix, non-dairy milk, dairy-free whipped topping, and vegan-friendly cookies to adapt this Banana Pudding Cups Recipe for a vegan diet.
How long does it take to assemble?
This recipe is wonderfully quick! With a bit of prepping, you should have your Banana Pudding Cups assembled in about 15 minutes, making it a fantastic option for last-minute gatherings or sweet cravings.
Final Thoughts
Making this Banana Pudding Cups Recipe is like bringing a little sunshine to your day in dessert form. It’s simple, quick, and joyfully tasty, with layers of creamy pudding, ripe banana sweetness, and crisp wafers that never fail to delight. I hope you enjoy making and sharing these charming cups as much as I do — they truly turn any moment into something special.
Print
Banana Pudding Cups Recipe
- Prep Time: 10 minutes
- Cook Time: 0 minutes
- Total Time: 45 minutes
- Yield: 6 servings
- Category: Dessert
- Method: No-Cook
- Cuisine: American
Description
This delightful Banana Pudding Cups recipe is a quick and creamy dessert featuring layers of instant vanilla pudding, whipped topping, ripe bananas, and crunchy vanilla wafers. Perfect for a crowd or a simple homemade treat, these pudding cups combine smooth textures with sweet banana flavor and a satisfying crunch.
Ingredients
Pudding Mixture
- 1 box (3.4 oz) instant vanilla pudding mix
- 2 cups cold milk
Additional Ingredients
- 1 cup whipped topping (e.g., Cool Whip)
- 2 ripe bananas, sliced
- 1 cup crushed vanilla wafers (plus extra for garnish)
- Whole vanilla wafers (for garnish)
Instructions
- Prepare the pudding: In a medium bowl, whisk together the instant vanilla pudding mix and cold milk until the mixture is smooth and thickened. Place the pudding in the refrigerator for 5 minutes to set properly.
- Fold in whipped topping: Gently fold the whipped topping into the chilled pudding to create a creamy, fluffy texture without deflating the mixture.
- Assemble the cups: In individual serving cups, start with a layer of crushed vanilla wafers, followed by a layer of banana slices, then a layer of the pudding mixture. Repeat the layering process until the cups are filled to the top.
- Top and garnish: Finish each cup with a dollop of whipped topping, sprinkle with additional crushed vanilla wafers, and place a whole vanilla wafer on top for decoration and extra crunch.
- Chill: Refrigerate the assembled pudding cups for at least 30 minutes to allow the flavors to meld and the wafers to soften slightly, enhancing the overall taste and texture.
Notes
- For best results, use ripe bananas for optimal sweetness and texture.
- You can prepare the pudding mixture ahead of time and assemble just before serving to retain freshness.
- Substitute dairy-free whipped topping to make this dessert lactose-free.
- Store assembled cups in the refrigerator and consume within 24 hours to prevent sogginess.
- Add a sprinkle of cinnamon or nutmeg on top for an extra flavor twist.


