
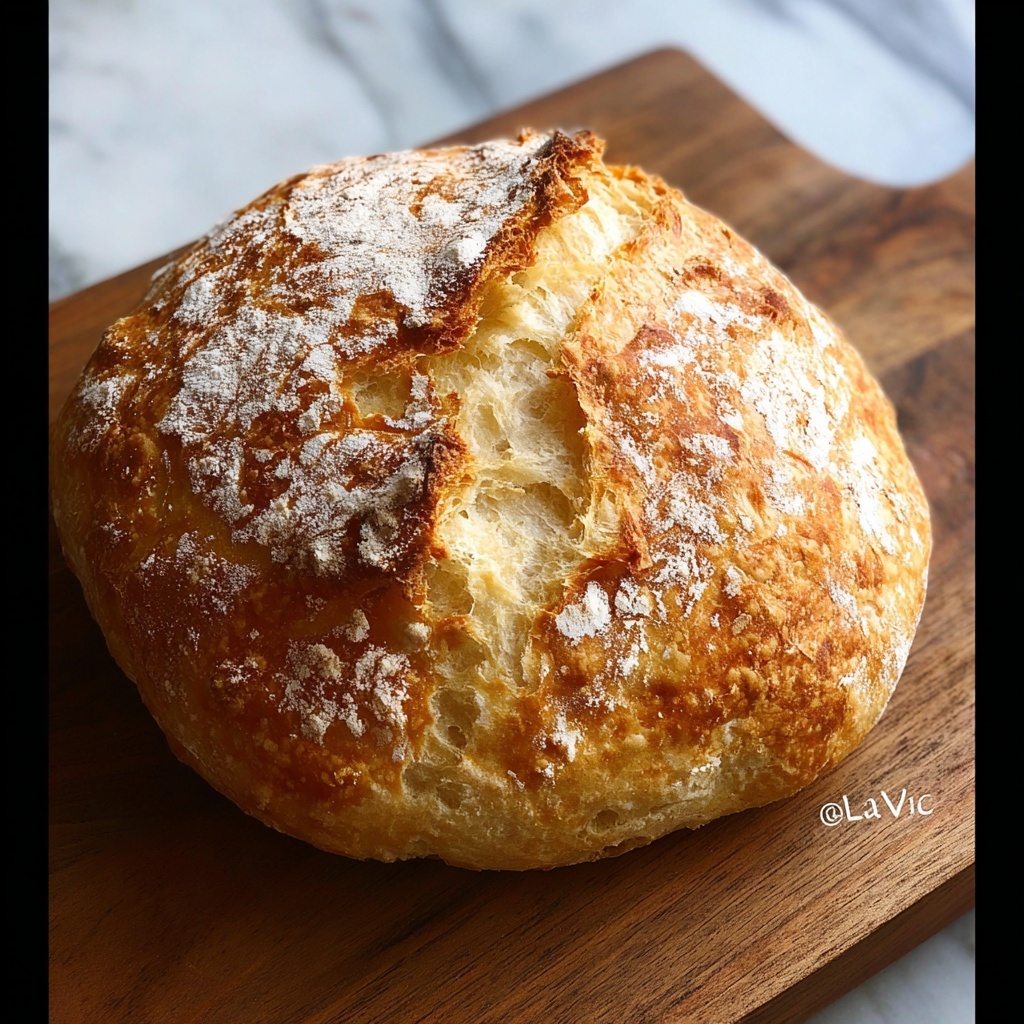
If you’ve ever dreamed of biting into a crusty, golden loaf of fresh bread but dread the thought of kneading dough or complicated techniques, you are in for a treat with this Easy No-Knead Artisan Bread Recipe. It’s a simple, hands-off method that transforms just a few pantry staples into a loaf that looks and tastes like it came straight from an artisan bakery. The magic lies in letting the dough rest and rise slowly, giving you a perfectly chewy, airy crumb and a crackling crust without breaking a sweat.
Ingredients You’ll Need
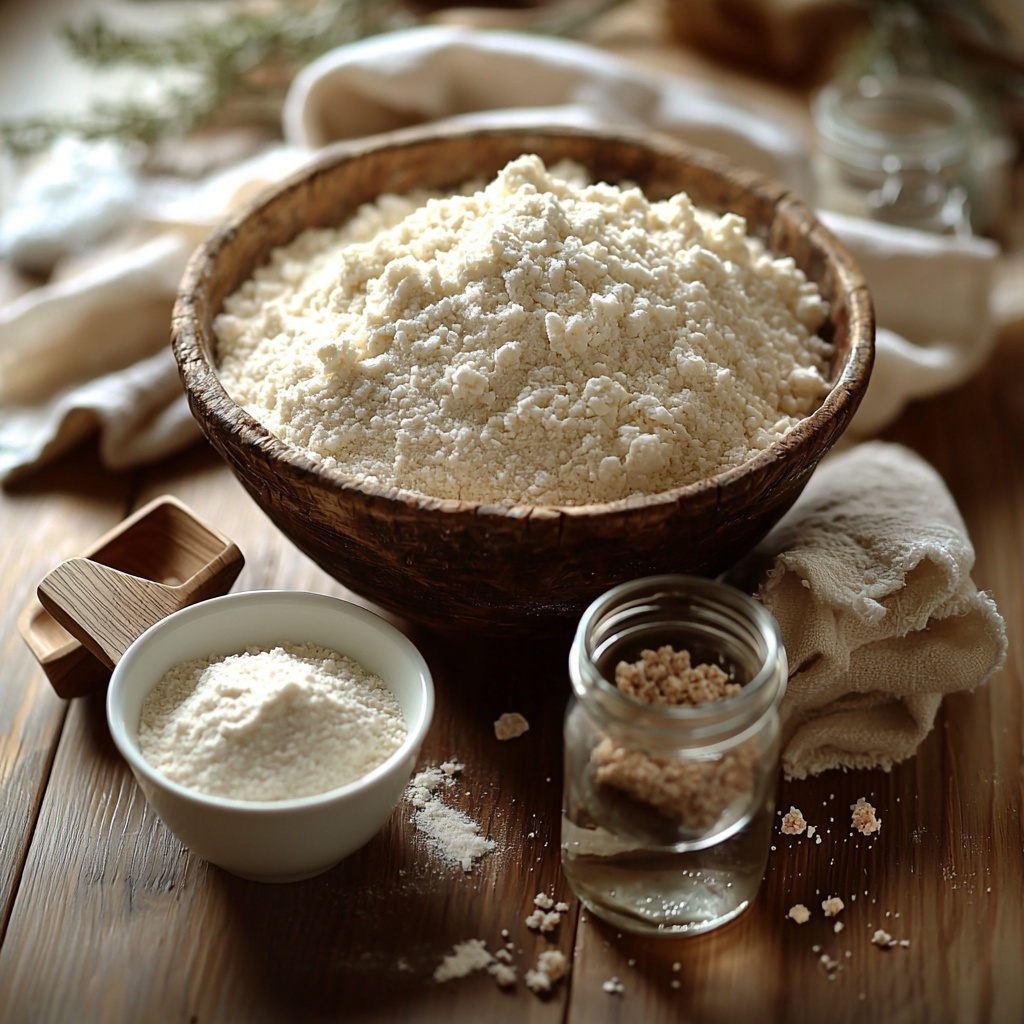
You only need four straightforward ingredients to bring this Easy No-Knead Artisan Bread Recipe to life. Each one plays a vital role in crafting that delightful texture and flavor — nothing fancy, just pure, honest bread deliciousness.
- 3 cups all-purpose flour: The backbone of your bread that creates structure and provides that satisfying chew.
- 2 teaspoons kosher salt: Enhances the flavor and controls the yeast’s activity for balanced rising.
- ½ teaspoon instant yeast: The little helper that does all the rising work without fuss; you can substitute active dry yeast if necessary.
- 1 ⅓ cups warm water (about 110 degrees F): Hydrates everything perfectly and activates the yeast to get the dough bubbling and alive.
How to Make Easy No-Knead Artisan Bread Recipe
Step 1: Mix Your Ingredients
Start by whisking together the flour, kosher salt, and yeast in a large bowl, making sure everything is evenly combined. Then pour in that warm water and stir gently with a rubber spatula or wooden spoon until it just comes together into a sticky, shaggy dough. It won’t look neat or smooth yet, but that’s the beautiful part of this method — no kneading required!
Step 2: Let It Rise
Cover your bowl with plastic wrap or a kitchen towel and let it sit at room temperature for four hours. This slow rise is what develops all the flavor and the airy texture that will make your bread so special. If you’re not ready to bake right away, you can refrigerate this dough for up to 14 hours, which also helps deepen the flavor.
Step 3: Shape and Rest
After the initial rise, gently turn your dough out onto a floured surface and softly shape it into a round ball with your hands — no punching or kneading needed. Dust the top with a little flour to keep it from sticking and set it on a sheet of parchment paper. Cover loosely with a towel and let it rest for another 30 minutes so it can puff up just a bit more.
Step 4: Preheat Your Dutch Oven
While your dough is resting, place a Dutch oven or heavy cast-iron pot (with the lid on) inside your oven and preheat it to 440 degrees Fahrenheit. Heating your pot first makes sure your bread bakes with that irresistible artisan crust.
Step 5: Bake to Perfection
When your dough has rested for the full 30 minutes and your oven and pot are piping hot, carefully lift the parchment paper holding your dough and transfer it directly into the preheated pot. Cover with the lid and bake for 30 minutes. This traps steam inside, helping the crust rise perfectly. Then remove the lid and bake a few more minutes until that crust turns golden brown and beautifully crackly.
Step 6: Cool Before Slicing
Once baked, take your bread out and place it on a wire rack to cool. This cooling step is crucial because it lets the crumb set, making slicing easier without squishing the bread. Wait at least 30 minutes before slicing, then enjoy every flavorful, crusty bite!
How to Serve Easy No-Knead Artisan Bread Recipe
Garnishes
This bread shines on its own, but if you want to elevate the experience, try brushing warm slices with melted butter or a drizzle of good olive oil. A sprinkle of flaky sea salt, a dash of fresh herbs like rosemary or thyme, or even a smear of garlic butter adds a beautiful touch that complements the bread’s natural flavors.
Side Dishes
This Easy No-Knead Artisan Bread Recipe pairs wonderfully with almost anything. Serve it alongside hearty soups and stews, fresh salads, or cheese boards loaded with your favorite cheeses, fruits, and nuts. It’s perfect for soaking up sauces or making sandwiches, making it a versatile star on your table.
Creative Ways to Present
Make your bread the centerpiece by slicing it into thick, rustic pieces and stacking them in a basket lined with a pretty linen towel. Or turn it into a fun appetizer by cutting into cubes and serving with olive oil and balsamic vinegar for dipping. Toast slices for bruschetta topped with ripe tomatoes and basil for a fresh, crowd-pleasing treat.
Make Ahead and Storage
Storing Leftovers
If you have any bread left over, store it in a paper bag or wrapped loosely in a kitchen towel at room temperature for 3 to 4 days. This keeps the crust crisp while preventing the bread from drying out too quickly.
Freezing
To keep your artisan bread longer, wrap it tightly in plastic wrap and then place it in a freezer bag. It will keep well for up to three months in the freezer. When you’re ready to enjoy it, thaw it at room temperature overnight.
Reheating
To revive your bread’s crusty texture, pop the loaf into a preheated oven at 350 degrees Fahrenheit for about 10 minutes. This refreshes the crust and warms the crumb, making it taste fresh-baked all over again.
FAQs
Can I use active dry yeast instead of instant yeast?
Absolutely! Just keep the amount the same at ½ teaspoon, and dissolve it in the warm water before mixing with the dry ingredients to activate it properly.
Do I really have to wait four hours for the dough to rise?
The long rise is key for flavor and texture. If you’re short on time, you can let it rise in a warmer spot for a shorter period, but the bread won’t have quite the same depth and airiness.
Is a Dutch oven necessary for this recipe?
While a Dutch oven or cast-iron pot is ideal for creating the perfect crust, you can also bake on a preheated baking stone or heavy baking sheet with a pan of water to provide steam, though results may vary.
Can I add herbs or seeds to the dough?
Yes! Adding a tablespoon or two of herbs, seeds, or even garlic powder into the dry ingredients can add exciting flavor twists without any extra effort.
Will this recipe work with whole wheat flour?
You can substitute up to half of the all-purpose flour with whole wheat flour. Keep in mind the dough may be denser, and you might need to add a little more water to get the right sticky consistency.
Final Thoughts
This Easy No-Knead Artisan Bread Recipe truly feels like a gift to anyone who loves fresh bread but doesn’t have endless time or energy to knead and fuss over dough. With just a little patience and a handful of ingredients, you’ll have a gorgeous, bakery-quality loaf that you can proudly share at any meal. Trust me, once you try it, the aroma and satisfaction of fresh homemade bread will have you making this recipe again and again.
Print
Easy No-Knead Artisan Bread Recipe
- Prep Time: 15 minutes
- Cook Time: 35 minutes
- Total Time: 4 hours 50 minutes
- Yield: 1 loaf (about 1.5 pounds)
- Category: Bread
- Method: Baking
- Cuisine: American
- Diet: Vegetarian
Description
This Easy No-Knead Artisan Bread recipe produces a crusty, flavorful loaf with minimal effort. Using simple pantry staples like flour, yeast, salt, and water, the dough is mixed and left to rise slowly before baking in a hot Dutch oven. The result is a rustic bread with a chewy crust and soft interior, perfect for sandwiches, toasts, or enjoying plain.
Ingredients
Dry Ingredients
- 3 cups all-purpose flour
- 2 teaspoons kosher salt
- ½ teaspoon instant yeast (or active dry yeast)
Wet Ingredients
- 1 ⅓ cups warm water (about 110°F)
Instructions
- Mix Dry Ingredients: In a large mixing bowl, whisk together the flour, kosher salt, and instant yeast to evenly distribute all ingredients.
- Add Water and Form Dough: Pour in the warm water and stir with a rubber spatula or wooden spoon until a sticky dough forms. The dough will be quite wet and shaggy.
- First Rise: Cover the bowl with a lid or plastic wrap and let the dough rise at room temperature for 4 hours. Alternatively, refrigerate the dough for up to 14 hours to develop flavor.
- Shape Dough: Turn the dough out onto a floured surface and gently shape it into a ball without kneading. Lightly dust with more flour.
- Second Rise: Place the dough ball on a sheet of parchment paper and cover loosely with a kitchen towel. Let it rest and rise for 30 minutes.
- Preheat Oven and Pot: While resting, place a Dutch oven or cast-iron pot with its lid on into the oven. Preheat the oven to 440°F to ensure the pot is hot for baking.
- Bake with Lid: Carefully transfer the dough with the parchment paper into the preheated pot and cover with the lid. Bake for 30 minutes to trap steam and develop crust.
- Bake without Lid: Remove the lid carefully and continue baking for a few more minutes until the crust achieves a golden brown color.
- Cooling: Transfer the bread to a wire rack and allow it to cool for at least 30 minutes before slicing to ensure the crumb sets properly.
- Serve: Slice and enjoy your fresh homemade artisan bread plain or alongside your favorite spreads and dishes.
Notes
- For a more complex flavor, refrigerate the dough after mixing and before the first rise for up to 14 hours.
- Use a Dutch oven or heavy cast-iron pot to mimic a professional steam oven environment.
- Ensure your oven and pot are fully preheated to achieve a crispy crust.
- Do not skip the cooling step; slicing too early can lead to gummy texture inside.
- This recipe yields one medium-sized artisan loaf perfect for individual use or small families.


