

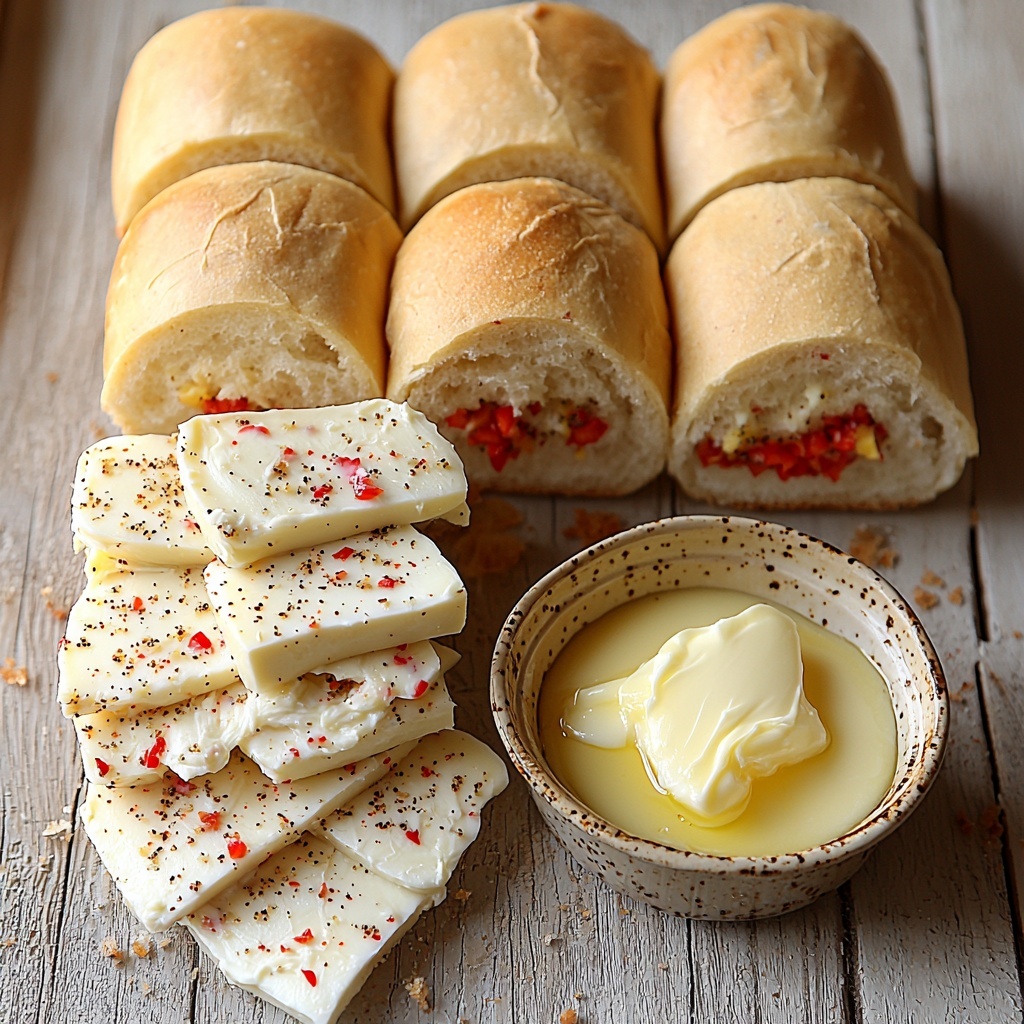
If you’re searching for a ridiculously satisfying twist on the classic grilled cheese, look no further than the Hawaiian Roll Grilled Cheese: Your New Comfort Food Obsession Recipe. This gem combines the soft, subtly sweet pillowy goodness of Hawaiian rolls with gooey, melty cheese inside a buttery, golden crust. It’s like your favorite childhood sandwich got an upgrade that’s both nostalgic and irresistibly fresh. The blend of sweet bread and savory cheese creates a cozy, flavor-packed bite that’s perfect anytime you need a warm hug on a plate.
Ingredients You’ll Need
These ingredients are delightfully simple yet crucial for crafting the perfect Hawaiian Roll Grilled Cheese: Your New Comfort Food Obsession Recipe. Each item plays a starring role—from the tender rolls that cradle the cheese to the butter that browns the crust beautifully without overpowering the subtle sweetness.
- 4 Hawaiian Rolls: Their soft, slightly sweet texture is the foundation for this delicious sandwich; brioche can be a decadent substitute for even richer flavor.
- 1 cup Cheese of Choice: Mozzarella melts smoothly for mild creaminess, while pepper jack adds a sensational spicy twist to keep things exciting.
- 2 tablespoons Butter: Essential for spreading on the inside of the rolls to achieve a golden, crispy outside and to enhance flavor.
How to Make Hawaiian Roll Grilled Cheese: Your New Comfort Food Obsession Recipe
Step 1: Prepare the Rolls
Start by carefully slicing each Hawaiian roll in half horizontally—you’re creating a cozy little pocket that holds your cheese perfectly. Taking care not to tear the bread ensures you get that satisfying bite and gooey center.
Step 2: Warm Your Skillet
Preheat a non-stick skillet over medium heat until it feels warm but not smoking hot. This temperature lets the butter brown gently and the cheese melt perfectly without burning the bread.
Step 3: Butter Up
Generously spread the butter on the inside surfaces of each roll half. This step might sound simple, but the butter is your secret weapon for that crispy, golden exterior that makes each bite crave-worthy.
Step 4: Assemble and Cook
Place the buttered bottom halves of the rolls onto the skillet, then pile on your chosen cheese. Cap each with the top half, butter side up. Cooking each side for about 3 to 4 minutes until golden brown creates a perfect crust while melting the cheese inside.
Step 5: Rest and Slice
Once cooked, let your Hawaiian Roll Grilled Cheese rest for a minute or so. This lets the cheese settle just enough to avoid too much oozing, and slicing afterward reveals that irresistible, melty cheese goodness.
How to Serve Hawaiian Roll Grilled Cheese: Your New Comfort Food Obsession Recipe
Garnishes
Adding a garnish elevates your Hawaiian Roll Grilled Cheese visually and flavor-wise. A sprinkle of chopped fresh herbs like basil or chives brightens the sandwich, while a light dusting of paprika can add a warm color pop and subtle smoky hint.
Side Dishes
For a balanced meal that complements the rich, cheesy sandwich, consider pairing it with crunchy pickles or a fresh cucumber salad to cut through the richness. A simple bowl of tomato soup is a classic match that never fails, perfectly enhancing the comfort food vibe.
Creative Ways to Present
Turn your Hawaiian Roll Grilled Cheese into party bites by slicing them into smaller sliders and serving on a platter with toothpicks. Or layer multiple cheeses and add thin slices of ham or pineapple to boost that tropical flavor, making your sandwich stand out as your new crowd favorite.
Make Ahead and Storage
Storing Leftovers
If you find yourself with leftovers (which can be rare because this sandwich disappears fast!), wrap them tightly in plastic wrap or store in an airtight container and refrigerate. They’ll stay good for up to 2 days while maintaining most of their flavor and texture.
Freezing
To freeze, wrap each Hawaiian Roll Grilled Cheese individually in foil and place in a freezer-safe bag or container. While freezing may slightly alter the bread’s softness, reheating brings back much of the original charm. Freeze for up to one month for best taste.
Reheating
For reheating, don’t use the microwave alone—it can make the bread soggy. Instead, warm your sandwich in a skillet over medium heat or in a toaster oven wrapped in foil, flipping halfway through until the cheese is melty and the bread is crisp again.
FAQs
Can I use other types of cheese?
Absolutely! Experiment with cheddar, Swiss, or provolone based on what flavor profile you like. The key is choosing a cheese that melts well to get that gooey texture.
Is it okay to use regular rolls instead of Hawaiian rolls?
Yes, but keep in mind Hawaiian rolls add a subtle sweetness that balances the cheese beautifully. Using regular rolls will give a sturdier, less sweet sandwich.
Can I add extras like ham or pineapple to the sandwich?
Definitely! Adding ham gives a savory boost that pairs wonderfully with the sweet rolls, while pineapple can enhance the tropical vibe if you want to stick to the Hawaiian theme.
How do I prevent the sandwich from getting soggy?
Spreading butter on the inside of the rolls and using a hot skillet helps create a crispy barrier that keeps the sandwich wonderfully toasted instead of soggy.
What dipping sauce goes well with this grilled cheese?
Try a tangy marinara, spicy sriracha mayo, or a classic tomato soup for dipping. Each adds a different but delicious dimension to your sandwich experience.
Final Thoughts
Trust me, once you make the Hawaiian Roll Grilled Cheese: Your New Comfort Food Obsession Recipe, it’ll quickly become your go-to snack or meal on busy days or cozy nights in. It’s simple, flavorful, and just downright comforting in all the right ways. So grab those sweet rolls and cheese, and get ready to fall in love with grilled cheese all over again!
Print
Hawaiian Roll Grilled Cheese: Your New Comfort Food Obsession Recipe
- Prep Time: 5 minutes
- Cook Time: 10 minutes
- Total Time: 15 minutes
- Yield: 2 servings
- Category: Snack
- Method: Frying
- Cuisine: American
Description
This Hawaiian Roll Grilled Cheese recipe offers a delightful twist on the classic grilled cheese sandwich by using sweet, fluffy Hawaiian rolls. Perfectly melted cheese combined with the buttery toasted rolls creates a comforting, easy-to-make snack or meal that will quickly become your new favorite comfort food.
Ingredients
Sandwich
- 4 Hawaiian Rolls (Substitute with brioche for a richer taste)
- 1 cup Cheese of Choice (Mozzarella for creaminess or pepper jack for a spicy kick)
- 2 tablespoons Butter (for spreading inside the rolls)
Instructions
- Prepare the rolls: Carefully slice the Hawaiian rolls in half, creating a pocket to hold the cheese.
- Preheat the skillet: Warm a non-stick skillet over medium heat until it is evenly heated.
- Butter the rolls: Generously spread butter on the insides of each roll to ensure golden, crispy edges.
- Assemble the sandwiches: Place one half of each roll in the skillet, top with your choice of cheese, then cover with the other half of the roll.
- Cook the sandwiches: Let the sandwich cook on one side until it turns golden brown, about 3-4 minutes. Then carefully flip and cook the other side until it is also golden brown and the cheese inside is melted.
- Serve: Remove from the skillet, allow to cool for a minute, slice as desired, and serve warm with your favorite dipping sauce.
Notes
- For a richer flavor, substitute Hawaiian rolls with brioche rolls.
- Mozzarella cheese provides a creamy melt, while pepper jack adds a spicy kick.
- Use a non-stick skillet to prevent sticking and ease flipping.
- Serve with dipping sauces such as marinara, ranch, or spicy mayo for extra flavor.
- Adjust cooking time slightly depending on your stove and pan to avoid burning.


