
“`html
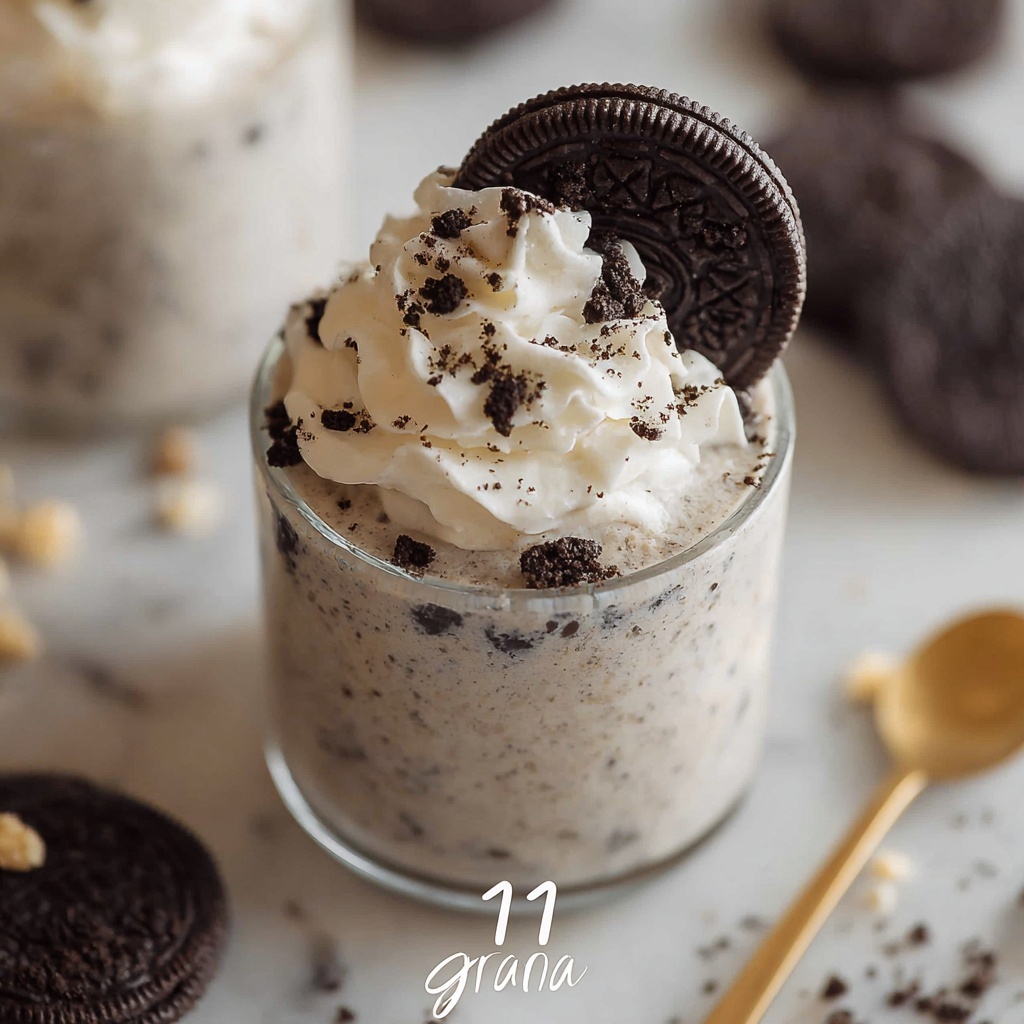
If you’re on the hunt for a dessert that’s irresistibly creamy, delightfully crunchy, and incredibly easy to put together, look no further than this Oreo No-Bake Cheesecake Cups Recipe. These little gems are perfect for impressing guests or treating yourself without turning on the oven. Each bite brings that classic Oreo crunch paired with luscious, fluffy cheesecake filling that simply melts in your mouth. Whether it’s a cozy night in or a last-minute dessert need, these cups are an absolute winner every time.
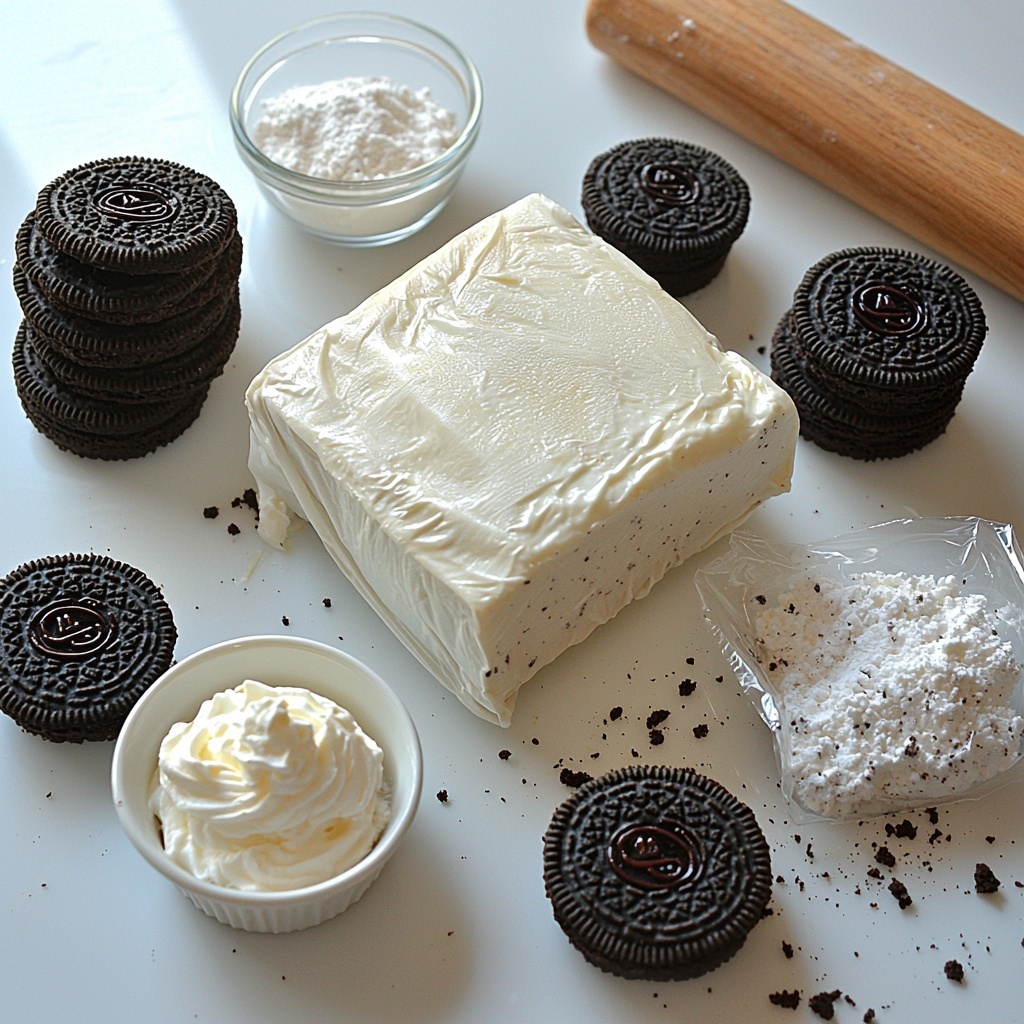
Ingredients You’ll Need
This recipe keeps it wonderfully simple, yet every ingredient is key to achieving that luscious texture and iconic Oreo flavor. Balancing creamy, sweet, and crunchy, these components work in harmony to create your perfect no-bake treat.
- 1 8 oz block of cream cheese, softened: The rich, creamy base that gives the cheesecake its signature smoothness.
- 1 8 oz. Cool Whip or whipped topping: Adds lightness and airy texture so the filling isn’t too dense.
- 2/3 cup powdered sugar: Brings just the right amount of sweetness to balance the tangy cream cheese.
- 1 teaspoon vanilla: Enhances and rounds out the flavors for a deeper, more complex taste.
- 24-26 Oreo cookies (more as desired): The star ingredient—crushed for the base and folded into the filling to deliver that iconic chocolate and cream crunch.
How to Make Oreo No-Bake Cheesecake Cups Recipe
Step 1: Prepare the Oreo Crust
Start by placing your Oreos in a sealed plastic bag, then crush them thoroughly using a rolling pin or a sturdy wooden spoon. You want those chunks small but still slightly chunky to maintain satisfying crunch. Spoon about 1 1/2 to 2 tablespoons of crushed Oreos into the bottom of each of your six dessert cups. The dish size should be at least three-quarters to one cup—this base layer is what anchors the whole dessert.
Step 2: Blend the Cheesecake Filling
Using your hand mixer or stand mixer, beat together the softened cream cheese and powdered sugar until the mixture is smooth and creamy. This step is crucial for that silky texture. Then add the vanilla and mix it in thoroughly. Next, gently fold in the Cool Whip to keep things light and fluffy. Finally, mix in the remaining crushed Oreos so that every spoonful bursts with that chocolatey crunch.
Step 3: Assemble and Chill
Divide the cheesecake mixture evenly among your prepared cups, gently pressing the filling down onto the Oreo crust you created earlier. Pop the cups into the refrigerator and let them chill for about one hour. This resting time lets the flavors meld and the filling set, making each bite perfectly creamy and indulgent. If you’d rather prepare in advance, just keep them chilled until serving time.
Step 4: Add the Finishing Touches
Before serving, top each cup with a dollop of whipped cream and sprinkle more crushed Oreos on top. This final flourish not only elevates the look but adds an extra layer of crunch that keeps the Oreo No-Bake Cheesecake Cups Recipe endlessly satisfying from first bite to last.
How to Serve Oreo No-Bake Cheesecake Cups Recipe
Garnishes
To make these cups extra festive and irresistible, think beyond just crushed Oreos. Fresh berries like raspberries or a drizzle of chocolate syrup complement the cookies’ rich chocolate flavor beautifully. A mint leaf adds a fresh pop of color and aroma that excites the senses. When you garnish thoughtfully, these cups become as much a feast for the eyes as they are for your taste buds.
Side Dishes
Although these cheesecake cups stand as a perfect dessert on their own, they pair wonderfully with a light, fruity salad or a simple scoop of vanilla ice cream. The creaminess of ice cream or the crisp bite of fresh fruit provides a delightful counterpoint without overwhelming the Oreo goodness. For a party, consider serving alongside coffee or a latte for a sophisticated finish.
Creative Ways to Present
Presentation can turn a humble no-bake dessert into a showstopper. Try layering the crushed Oreos and cheesecake mixture in clear mini mason jars or small parfait glasses to show off the delicious layers. You can also experiment with individual serving sizes by using mini chocolate cups or edible cookie shooters for a fun twist. Decorating each cup with themed toppers makes them perfect for birthdays or special occasions.
Make Ahead and Storage
Storing Leftovers
One of the best parts about this Oreo No-Bake Cheesecake Cups Recipe is how well it keeps. Store any leftovers covered tightly in the refrigerator for 3-4 days. This keeps the cheesecake filling fresh and the Oreos delightfully crunchy without getting soggy. Simply cover each cup with plastic wrap or pop them in an airtight container.
Freezing
If you want to make these cheesecakes a little in advance, go ahead and freeze them! Cover the cups tightly with foil and then plastic wrap to prevent freezer burn. Frozen cheesecake cups can last for up to 2 months. When you’re ready to enjoy, thaw them overnight in the fridge for the best creamy texture.
Reheating
Since these are no-bake cheesecake cups, serving them chilled is key to their perfect texture. Avoid reheating, as warmth will alter the cream cheese and whipped topping, leading to a loss of that signature creamy, fluffy experience. Just take them out a few minutes before serving to take the chill off, if you prefer.
FAQs
Can I use a different cookie instead of Oreos?
Absolutely! While Oreos are classic and iconic in this recipe, you can swap in other chocolate sandwich cookies or even try crushed graham crackers for a different twist. Just keep in mind that the flavor and texture will change slightly depending on the cookie you choose.
Is it necessary to soften the cream cheese?
Yes, softening the cream cheese before mixing is essential to achieving the smooth, creamy texture that makes the cheesecake filling so irresistible. Cold cream cheese can lead to lumps and a less cohesive filling.
Can I make these cups vegan or dairy-free?
To make a vegan or dairy-free version, try using dairy-free cream cheese and whipped topping alternatives. There are some great plant-based options on the market that maintain the creamy texture and rich flavor needed for this recipe.
How long should the cheesecake cups chill before serving?
A minimum of one hour in the refrigerator allows the flavors to meld and the filling to firm up nicely. That said, you can chill them longer if needed, even overnight, for a perfectly set dessert.
Can I double or triple the recipe for a larger gathering?
Definitely! This Oreo No-Bake Cheesecake Cups Recipe scales up wonderfully. Just multiply the ingredients accordingly and prepare more cups. They’re fantastic for parties and gatherings since they’re easy to portion and serve.
Final Thoughts
Honestly, once you try this Oreo No-Bake Cheesecake Cups Recipe, it might just become your go-to dessert for any occasion. It’s quick, effortlessly delicious, and hits all those crave-worthy spots with creamy cheesecake and the beloved crunch of Oreos. So gather your ingredients, whip these up, and get ready to wow yourself and your friends—because desserts this good deserve to be shared.
“`
Print
Oreo No-Bake Cheesecake Cups Recipe
- Prep Time: 15 minutes
- Cook Time: 0 minutes
- Total Time: 45 minutes
- Yield: 6 servings
- Category: Dessert
- Method: No-Cook
- Cuisine: American
Description
These Oreo No-Bake Cheesecake Cups are a delightful and easy-to-make dessert featuring creamy cheesecake filling layered over a crunchy Oreo cookie crust. Perfect for quick preparation without an oven, this recipe yields individual servings that are rich, sweet, and irresistible.
Ingredients
Cheesecake Filling
- 1 (8 oz) block cream cheese, softened
- 2/3 cup powdered sugar
- 1 teaspoon vanilla extract
- 8 oz Cool Whip or whipped topping
Crust and Topping
- 24–26 Oreo cookies (plus more for topping as desired)
Instructions
- Crush the Oreos: Place the Oreos in a sealed plastic bag and crush them using a rolling pin or a sturdy wooden spoon until finely crumbled. Spoon about 1 1/2 to 2 tablespoons of the crushed Oreos evenly into the bottom of six small dessert cups or dishes (approximately 3/4 to 1 cup size). Set aside.
- Prepare the Cheesecake Filling: Using a hand mixer or stand mixer, beat the softened cream cheese and powdered sugar together until the mixture is creamy and smooth. Add the vanilla extract and mix until combined. Gently fold in the Cool Whip to maintain a light and airy texture, then fold in the remaining crushed Oreos to incorporate evenly.
- Assemble the Cups: Divide the cheesecake filling evenly among the six dessert cups, spreading it over the Oreo crust layer. Gently press the filling to compact it slightly onto the crust for a firm base. Chill the cups in the refrigerator for about 1 hour to set.
- Add Toppings and Serve: Before serving, top each cup with additional whipped cream and a sprinkle of crushed Oreos for garnish. Enjoy your creamy, no-bake Oreo cheesecake cups!
Notes
- For best results, use fully softened cream cheese for easier mixing.
- You can substitute Cool Whip with any whipped topping of your choice.
- Make sure dessert cups are large enough (at least 3/4 to 1 cup capacity) to hold the layers comfortably.
- Chilling time can be extended up to 2 hours if you want firmer cups.
- Feel free to add fresh berries or chocolate drizzle as an optional garnish.


