
“`html
If you’ve ever craved that smooth, creamy, and perfectly sweet coffee treat from your favorite café, you’re going to love making the Vanilla Bean Frappuccino at Home Recipe. This delightful drink captures all the luscious vanilla flavor and refreshing chill of the classic Frappuccino but with the comfort and convenience of your own kitchen. It’s a lovely way to turn ordinary coffee into a weekend treat or an anytime pick-me-up that feels just a little bit special.
Ingredients You’ll Need
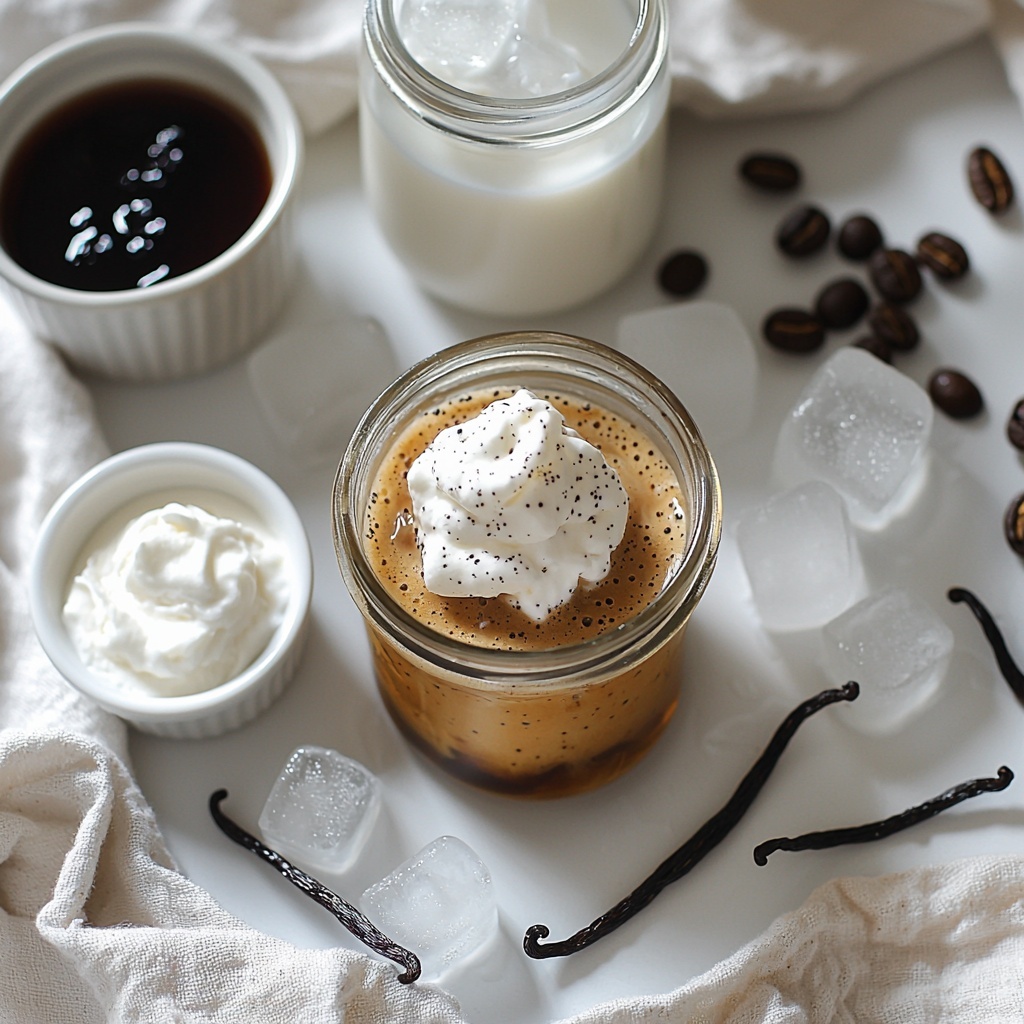
These simple ingredients come together to create the rich, creamy, and wonderfully smooth texture that defines this Vanilla Bean Frappuccino at Home Recipe. Each one plays an important role — from the bold coffee base to the sweet vanilla bean paste that gives it that signature flavor.
- 1 cup strong brewed coffee (cooled): Use your favorite coffee blend for a robust flavor foundation.
- 1 tablespoon vanilla bean paste: This packs a punch of natural vanilla flavor, far better than vanilla extract alone.
- 1 cup milk (any variety): Whether dairy or plant-based, milk adds creaminess and smoothness to the frappuccino.
- 2 tablespoons sugar or sweetener (adjust to taste): Sweetness balances the bitterness of the coffee perfectly — feel free to tweak this to your liking.
- 2 cups ice: Essential for that icy, slushy texture that makes a frappuccino so refreshing.
- Whipped cream (optional): A luxurious topper to make your homemade frappuccino café-worthy.
How to Make Vanilla Bean Frappuccino at Home Recipe
Step 1: Brew and Cool Strong Coffee
The foundation of your frappuccino is strong brewed coffee, so start by brewing a cup of your favorite blend. Let it cool completely; this step is crucial because warm coffee will melt your ice too quickly, watering down the texture and flavor.
Step 2: Blend Coffee with Vanilla and Sweetener
In a blender, combine your cooled coffee, vanilla bean paste, and sugar or sweetener. Blend briefly just to mix these ingredients thoroughly, then give it a taste. Adjust the sweetness here if you want it a bit richer or lighter.
Step 3: Add Milk and Blend Until Smooth
Pour in the milk of your choice and blend again until the mixture is completely smooth. The milk softens the bold coffee and vanilla flavors, creating that signature creamy frappuccino feel.
Step 4: Incorporate Ice for a Slushy Finish
Add the ice and blend until you reach that icy, slushy consistency everyone loves in a frappuccino. Be careful not to over-blend; you want it refreshing and thick, not watery.
Step 5: Serve and Enjoy
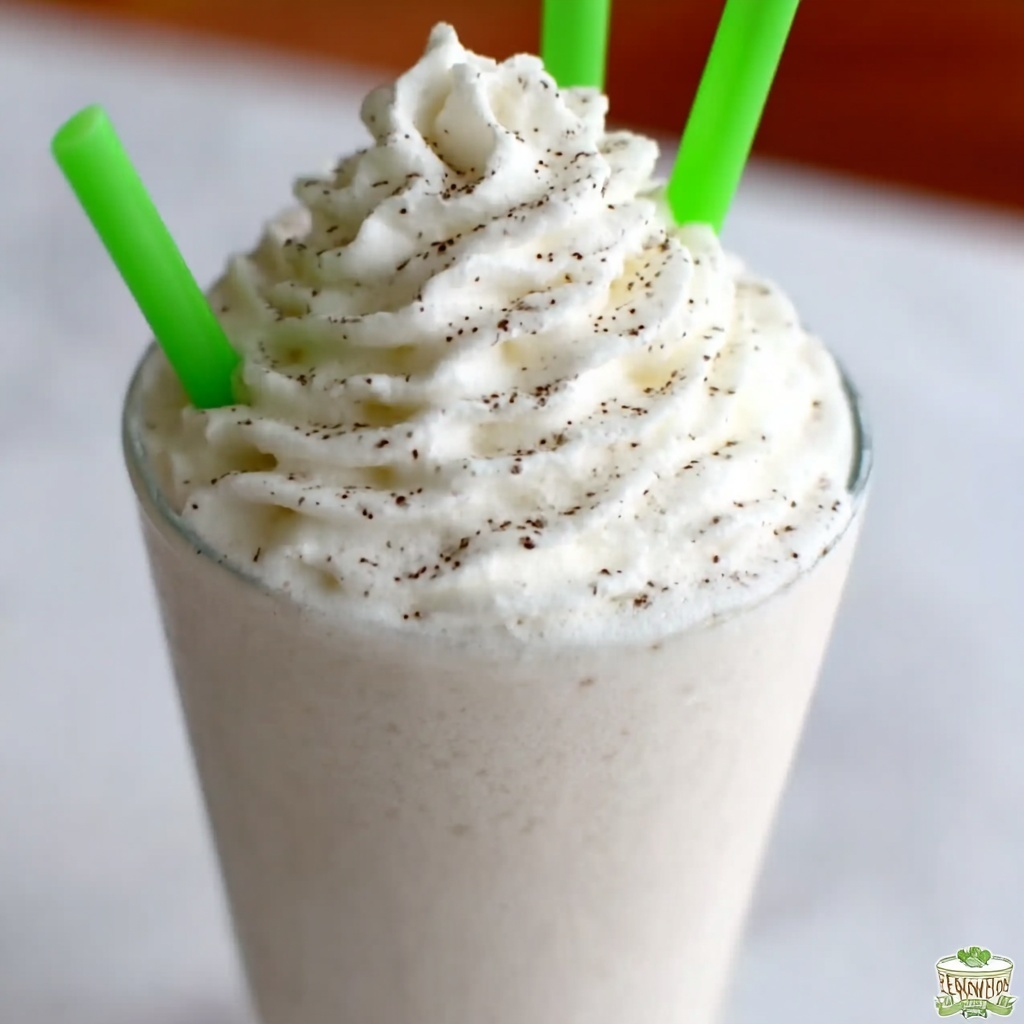
Pour your homemade frappuccino into tall glasses. If you’re feeling indulgent, top with a swirl of whipped cream right before serving. Sip, savor, and enjoy a perfect café experience made right at home.
How to Serve Vanilla Bean Frappuccino at Home Recipe
Garnishes
Adding a garnish is a simple way to elevate the Vanilla Bean Frappuccino at Home Recipe. A dollop of whipped cream is the classic touch, but you can sprinkle some vanilla bean powder, a dash of cinnamon, or even some chocolate shavings for extra flair and flavor contrast.
Side Dishes
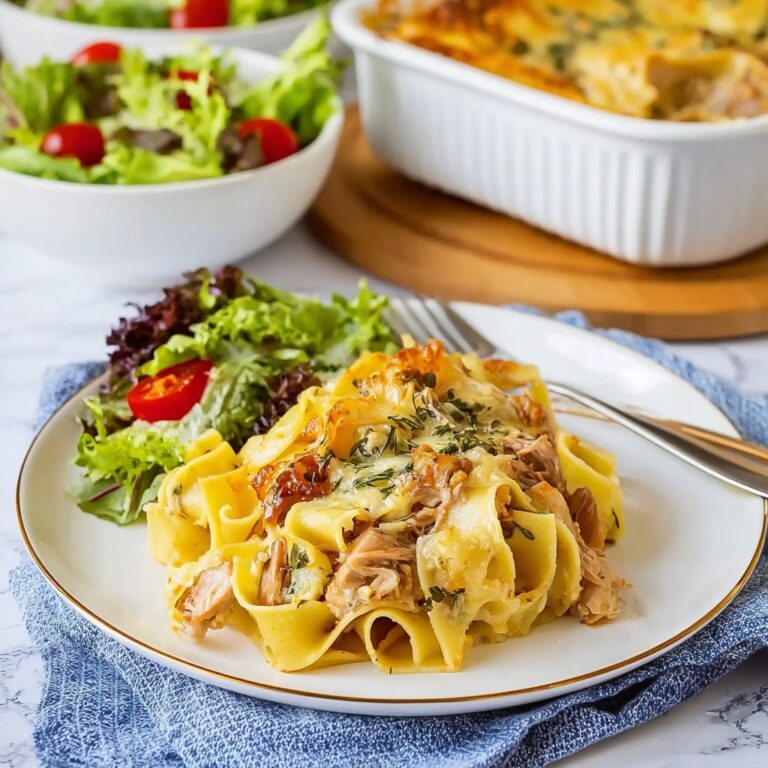
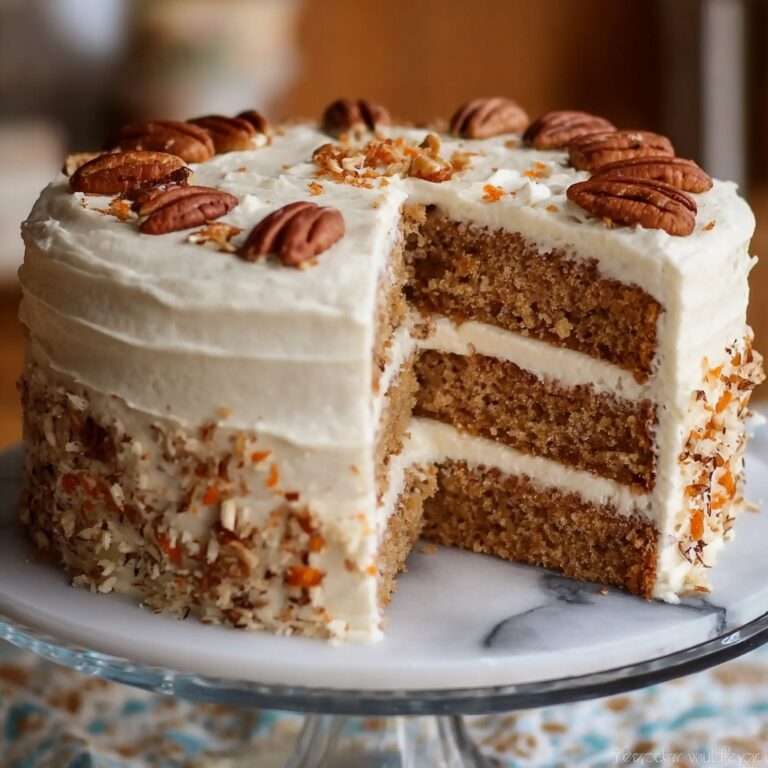
This frappuccino pairs wonderfully with light pastries such as buttery croissants, almond biscotti, or shortbread cookies. These sides complement the creamy sweetness and help balance the drink’s rich coffee notes with a little crunch or buttery texture.
Creative Ways to Present
Try serving your Vanilla Bean Frappuccino at Home Recipe in clear glass mugs to showcase its creamy layers. Layer whipped cream with a drizzle of vanilla syrup along the rim or add colorful reusable straws for a fun and inviting coffee moment that’s sure to impress your guests or just brighten your own day.
Make Ahead and Storage
Storing Leftovers
If you happen to have any leftover Vanilla Bean Frappuccino, store it in an airtight container in the refrigerator. It will stay fresh for about 3-4 days, though I recommend enjoying it as soon as possible to preserve the best texture and flavor.
Freezing
You can freeze leftover frappuccino in an ice cube tray for future blended coffee drinks or smoothies. Once frozen, pop the cubes into a freezer bag and use within 1 month to prevent freezer burn and flavor loss.
Reheating
This drink is best served cold and icy, so reheating is not recommended. Instead, give any thawed frappuccino cubes a quick blend with fresh milk and ice to revive that perfect frozen texture.
FAQs
Can I use vanilla extract instead of vanilla bean paste?
Yes, but the flavor won’t be quite as rich or authentic. Vanilla bean paste includes real vanilla seeds, giving a lovely speckled look and deeper flavor that really makes this frappuccino special.
What type of milk works best for this recipe?
Any milk works well—dairy or plant-based. Whole milk gives extra creaminess, but almond, oat, or soy milk are great alternatives and add their own unique flavor nuances.
How can I make this recipe vegan?
Simply use plant-based milk and a vegan sweetener like agave or maple syrup. Skip the whipped cream or use a dairy-free version to keep it fully vegan.
Can I prepare the coffee base ahead of time?
Absolutely! Brew the coffee in advance and chill it in the fridge. This makes whipping up your frappuccino even quicker when you want a refreshing treat.
Is it possible to reduce the sugar in this recipe?
Yes! You can adjust the sweetness to your taste or substitute sugar with your preferred sweetener. Start with less and add gradually to avoid overpowering the coffee’s natural flavors.
Final Thoughts
There’s something magical about crafting the Vanilla Bean Frappuccino at Home Recipe yourself — the cozy familiarity of your own kitchen combined with that café-quality indulgence. It’s straightforward, satisfying, and totally customizable. I can’t wait for you to try it and discover how easily this simple recipe can become your new favorite treat whenever a coffee craving strikes.
“`
Print
Vanilla Bean Frappuccino at Home Recipe
- Prep Time: 5 minutes
- Cook Time: 5 minutes
- Total Time: 10 minutes
- Yield: 2 servings
- Category: Beverage
- Method: Blending
- Cuisine: American
Description
Enjoy a refreshing homemade Vanilla Bean Frappuccino made with strong brewed coffee, creamy milk, and sweet vanilla bean paste. This quick and easy recipe creates a smooth, icy coffee treat perfect for any time of day.
Ingredients
Base Ingredients
- 1 cup strong brewed coffee (cooled)
- 1 tablespoon vanilla bean paste
- 2 tablespoons sugar or sweetener (adjust to taste)
Other Ingredients
- 1 cup milk (any variety)
- 2 cups ice
- Whipped cream (optional, for topping)
Instructions
- Brew Coffee: Brew your favorite strong coffee and allow it to cool completely to avoid melting the ice too quickly during blending.
- Mix Flavors: In a blender, combine the cooled coffee, vanilla bean paste, and sugar. Blend briefly and taste, adjusting the sweetness according to your preference.
- Add Milk: Pour the milk into the blender with the coffee mixture and blend until the mixture is smooth and well combined.
- Blend Ice: Add the ice to the blender and blend until you reach a slushy, frappuccino-like texture.
- Serve: Pour the blended frappuccino into tall glasses, top with whipped cream if desired, and enjoy immediately for the best taste and texture.
Notes
- Use any milk variety you prefer, including dairy, almond, soy, or oat milk.
- Adjust the sugar or sweetener based on your taste or dietary needs.
- For a stronger coffee flavor, use espresso or double-strength brewed coffee.
- The vanilla bean paste can be substituted with vanilla extract, but paste offers a richer flavor and visible vanilla bean specks.
- Whipped cream topping is optional but adds a creamy finish.
- Serve immediately after blending to maintain the icy texture.


